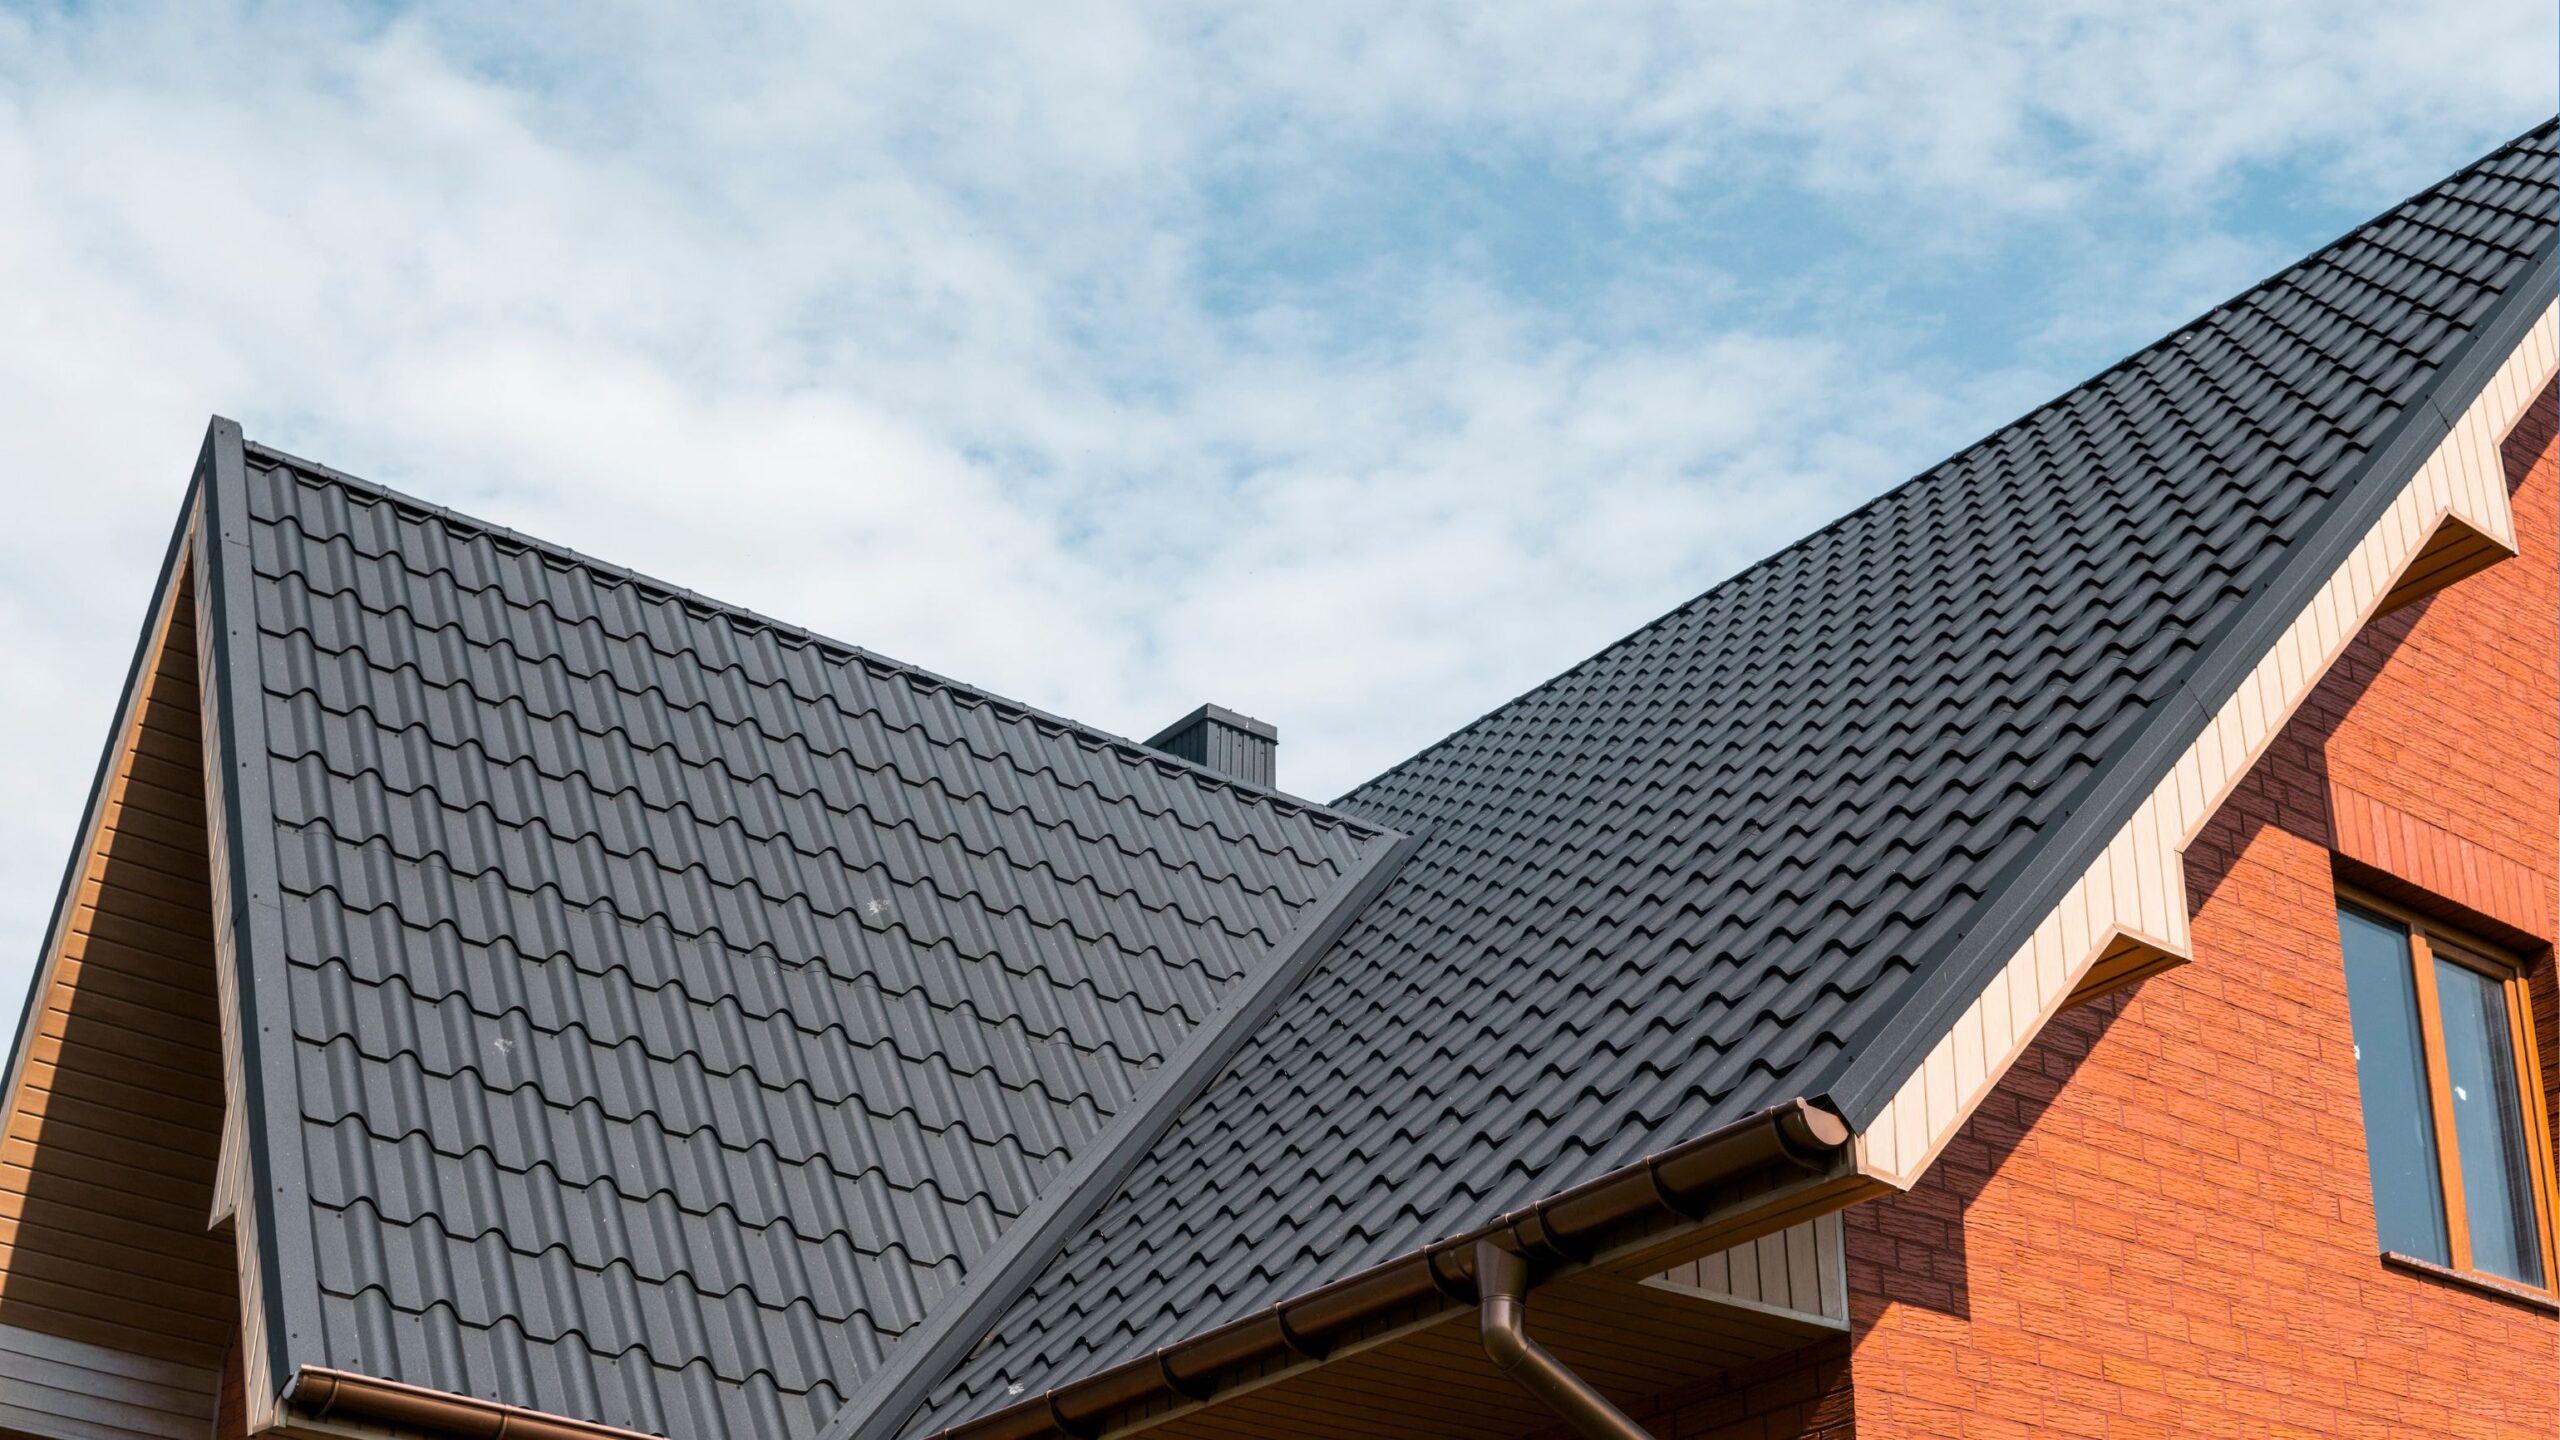
If you’ve decided to upgrade your home with a new metal roof, you’re making a solid choice that combines style with long-term benefits. Metal roofing combines long-lasting durability and energy efficiency with a contemporary design, adding both style and value to your home’s exterior.
In this comprehensive guide, we’ll walk you through the metal roof installation process, covering everything from essential preparation steps to detailed finishing touches. Whether you’re considering a DIY metal roof installation to save on costs or hiring a professional for peace of mind, this guide will help you understand every step, ensuring you achieve a successful and lasting result.
Introduction to Metal Roofing
Benefits of Metal Roofing
The benefits of metal roofing go far beyond aesthetics. Metal shingles last much longer than traditional asphalt shingles, often giving your home 50 years of protection or more. These roofs are more energy-efficient, reflecting the sun’s rays and keeping your home cooler in the summer, which can save you money on your energy bills. Additionally, a metal roof can increase your home’s resale value, making it an investment in the future.
While installing metal roofing may have higher upfront costs compared to other roofing materials, the long-term benefits are worth considering. You’ll spend less on maintenance, and the roof’s extended lifespan means fewer replacements down the line. Be sure to weigh the installation costs, material choices, and maintenance when deciding between metal roofs and asphalt shingles.
Types of Metal Roofing
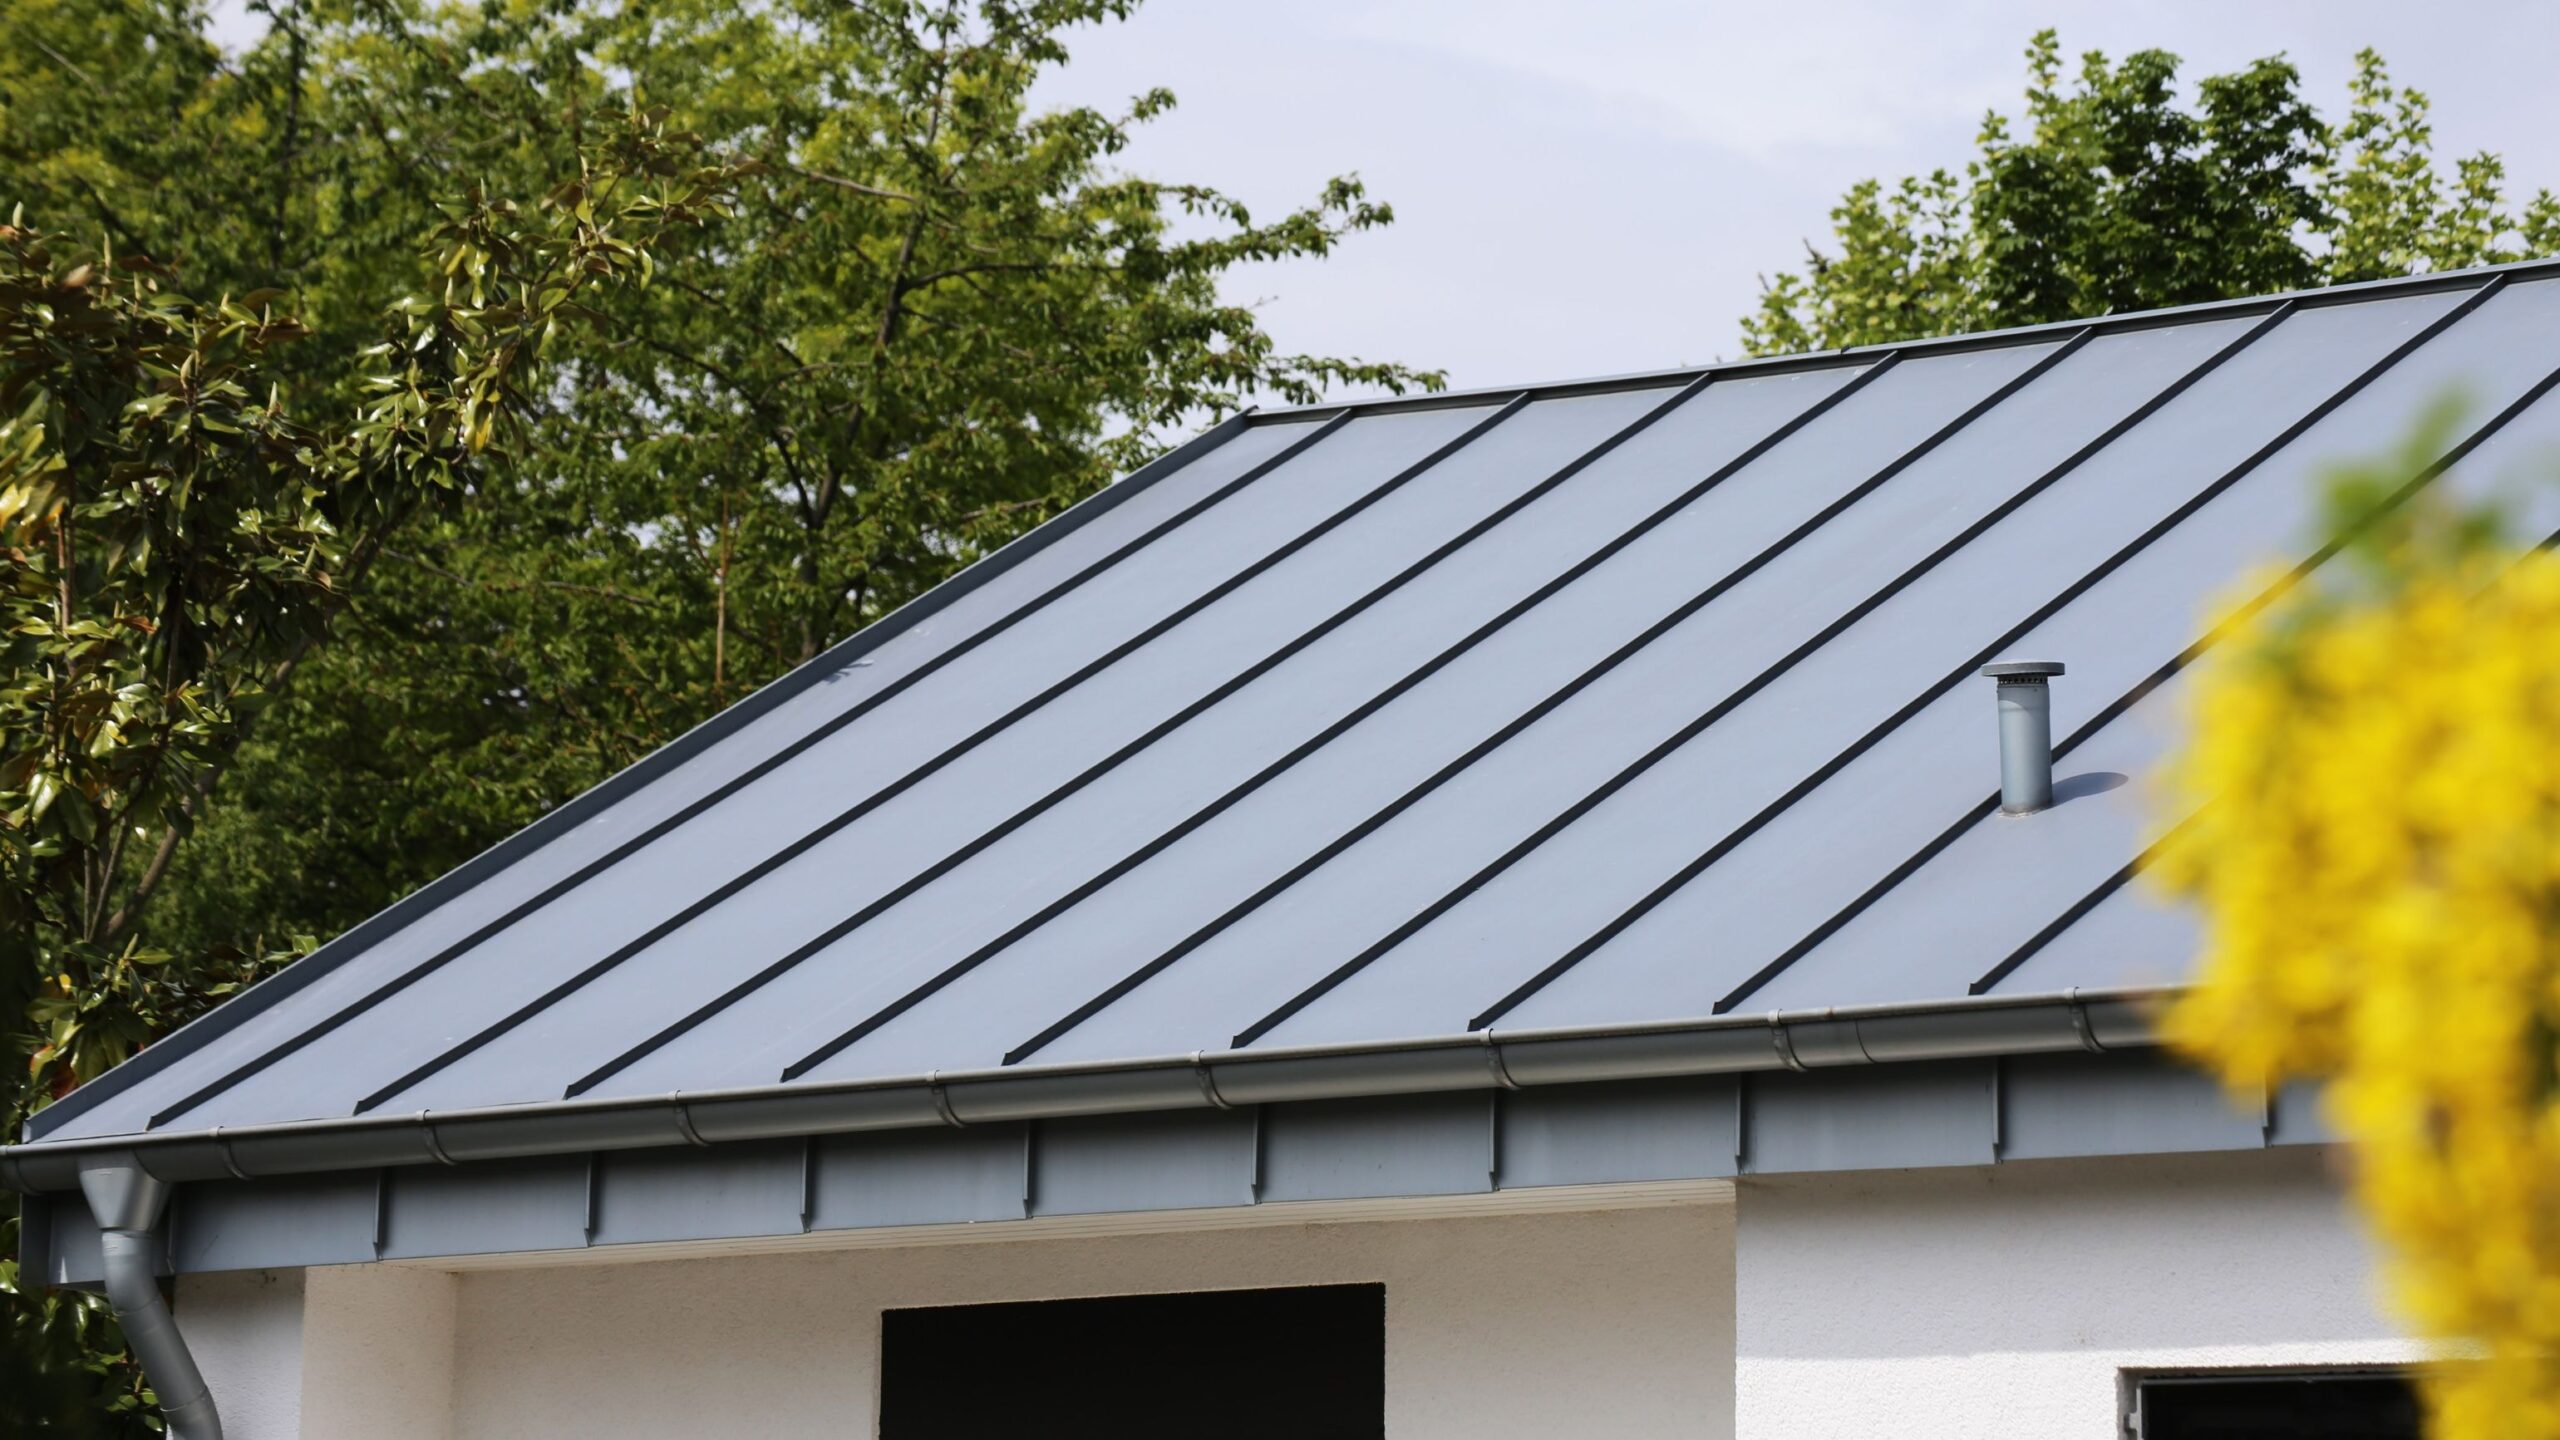
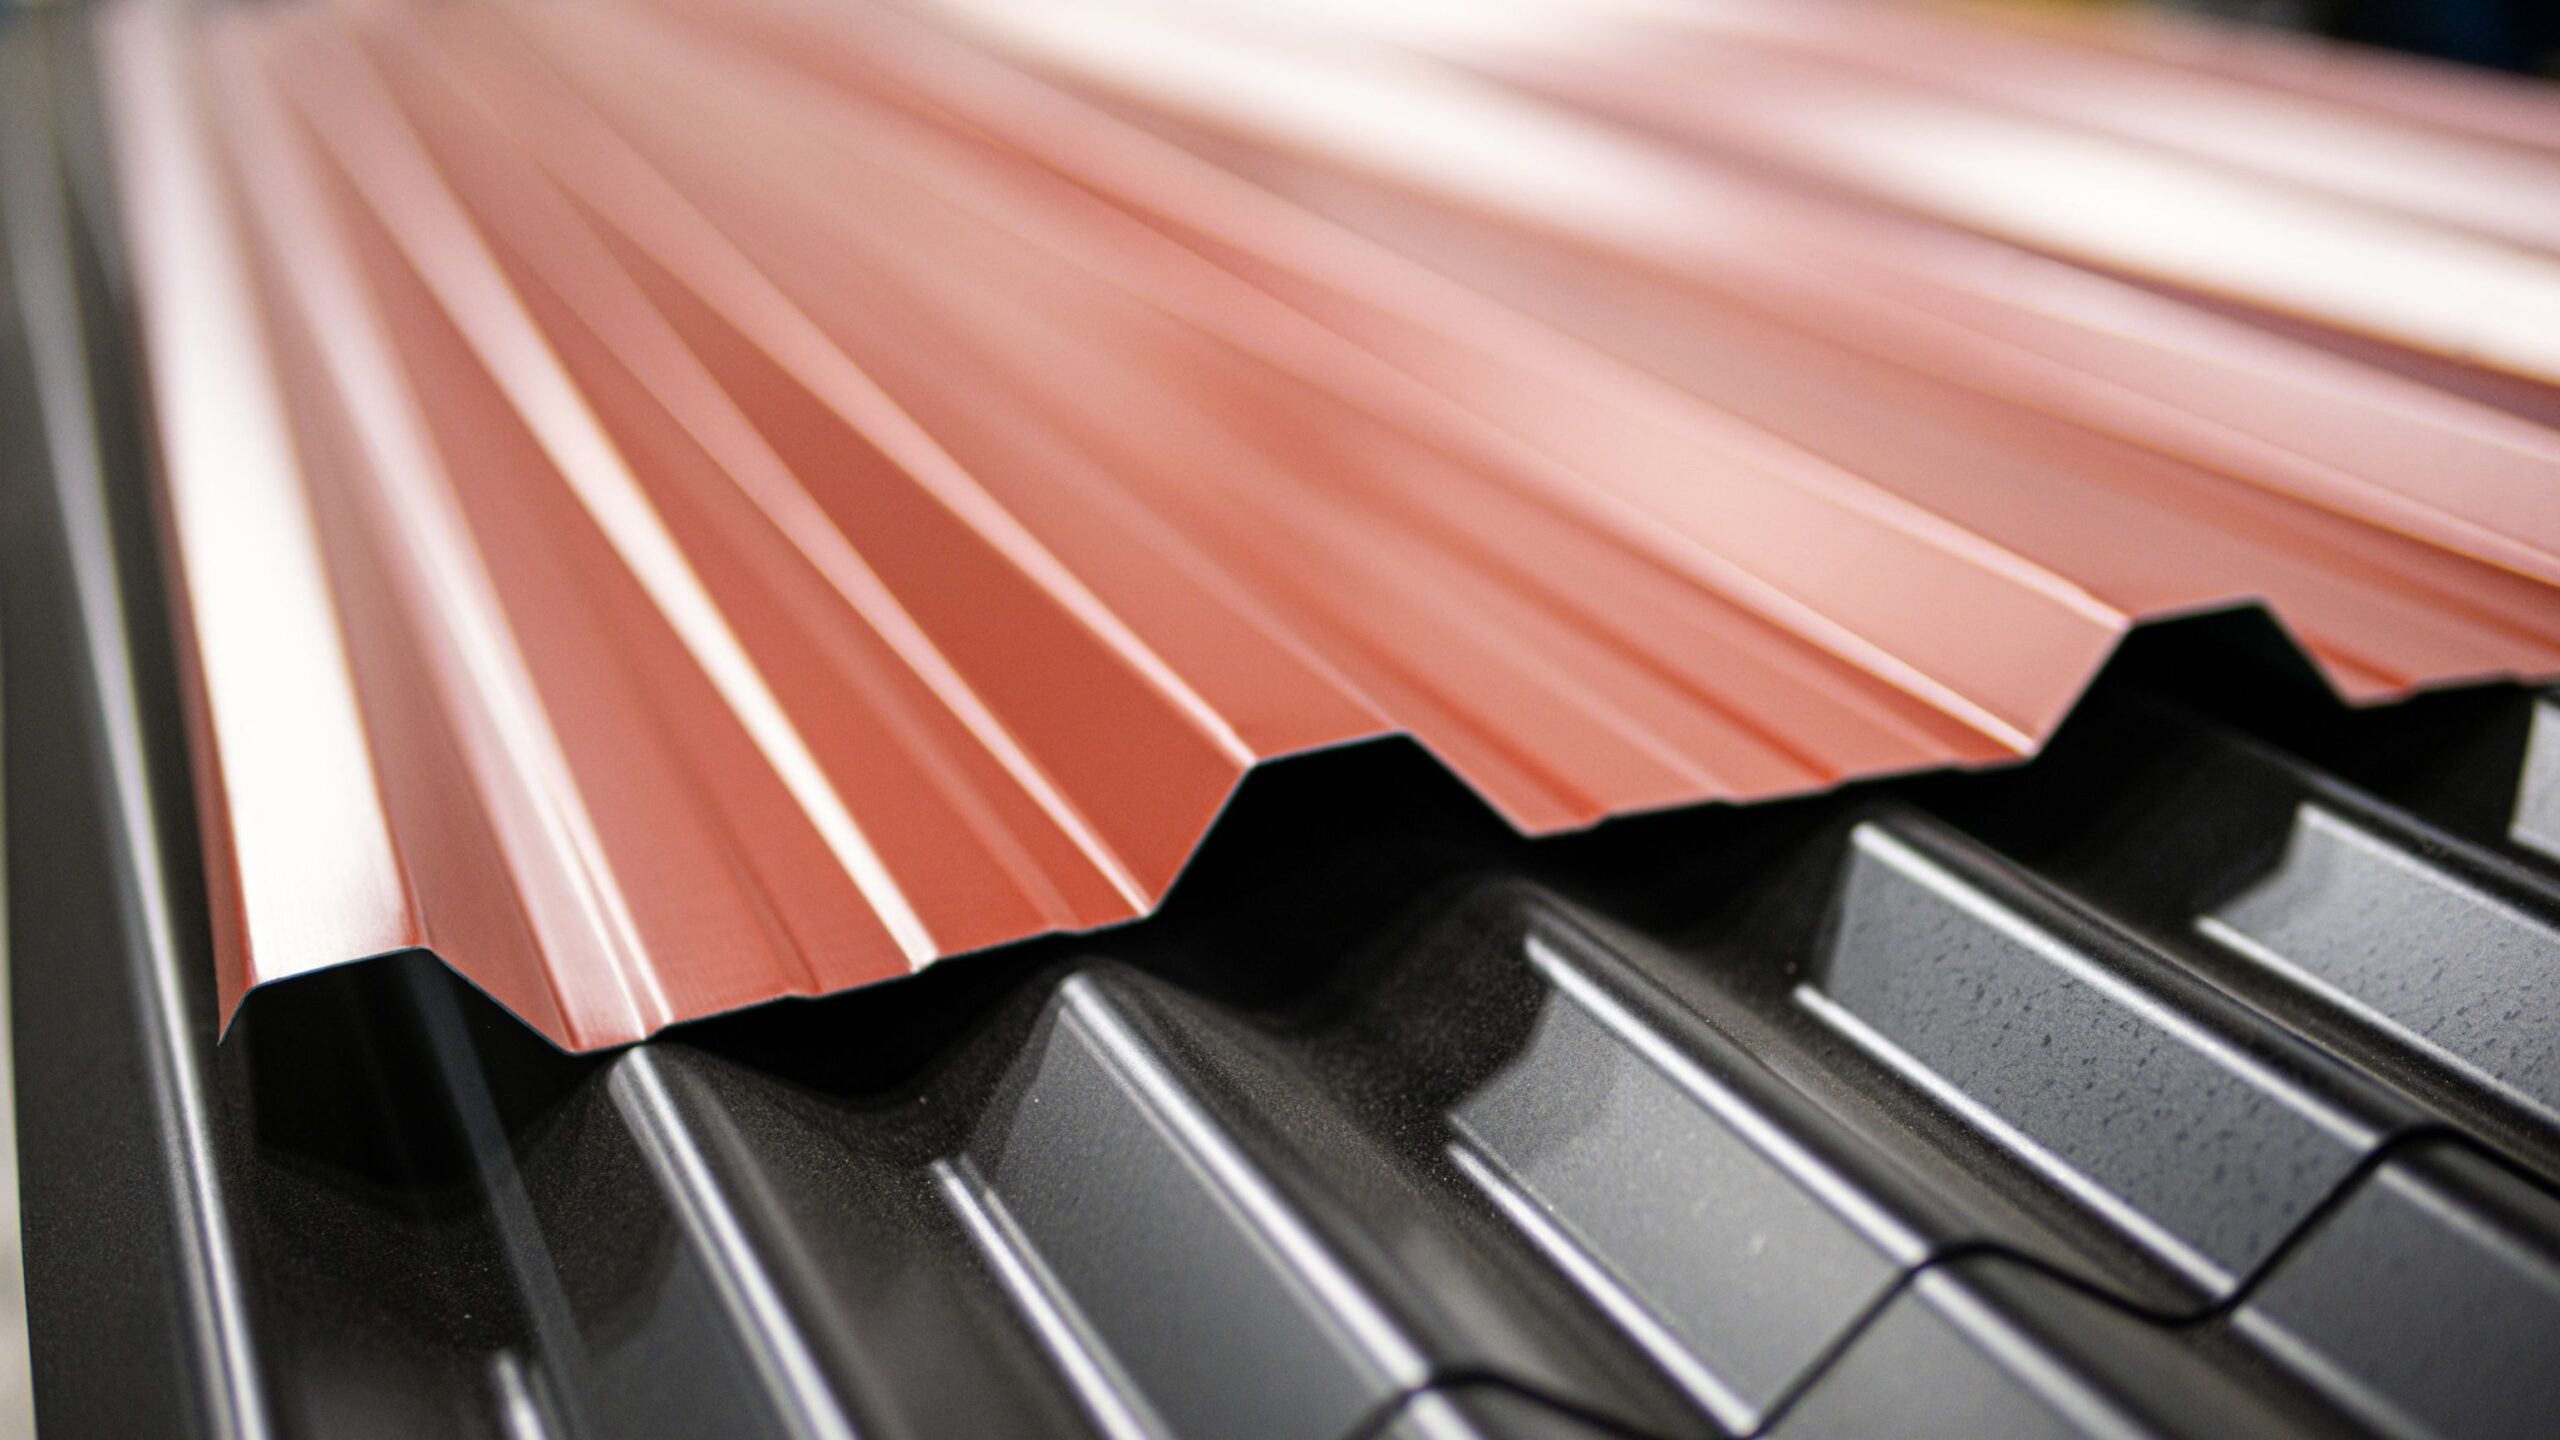
There’s more than one kind of metal roof to choose from, which is great because you can select one that best suits your needs. Many choose to install corrugated metal roofing because of its durability and aesthetic appeal. These corrugated metal panels offer a bold, industrial look that’s becoming increasingly popular in residential settings. If you’re after something sleek and modern, a standing seam metal roof may be the way to go, as it features clean, vertical lines.
Metal roofing materials come in various options. You can choose from aluminum, steel, copper, or zinc, depending on your budget and the climate in your area. Each has its advantages. For example, aluminum is lightweight and resistant to rust, while steel is strong and can be treated to resist corrosion.
Pre-Installation Preparation
Measure Your Roof Accurately
Before installing metal roof panels, you need to measure your roof precisely. This ensures you order the right amount of panels and don’t fall short during installation. Calculate the square footage of your entire roof, including all sections that will be covered by panels. Don’t forget to allow for a 1-inch overhang on all sides, which improves coverage and gives your roof a cleaner look.
Make sure to measure the length, width, and slope of each section of your roof. Accurate measurements prevent delays during installation and ensure you buy the correct amount of metal roofing materials.
Choose Your Metal Roofing Materials Wisely
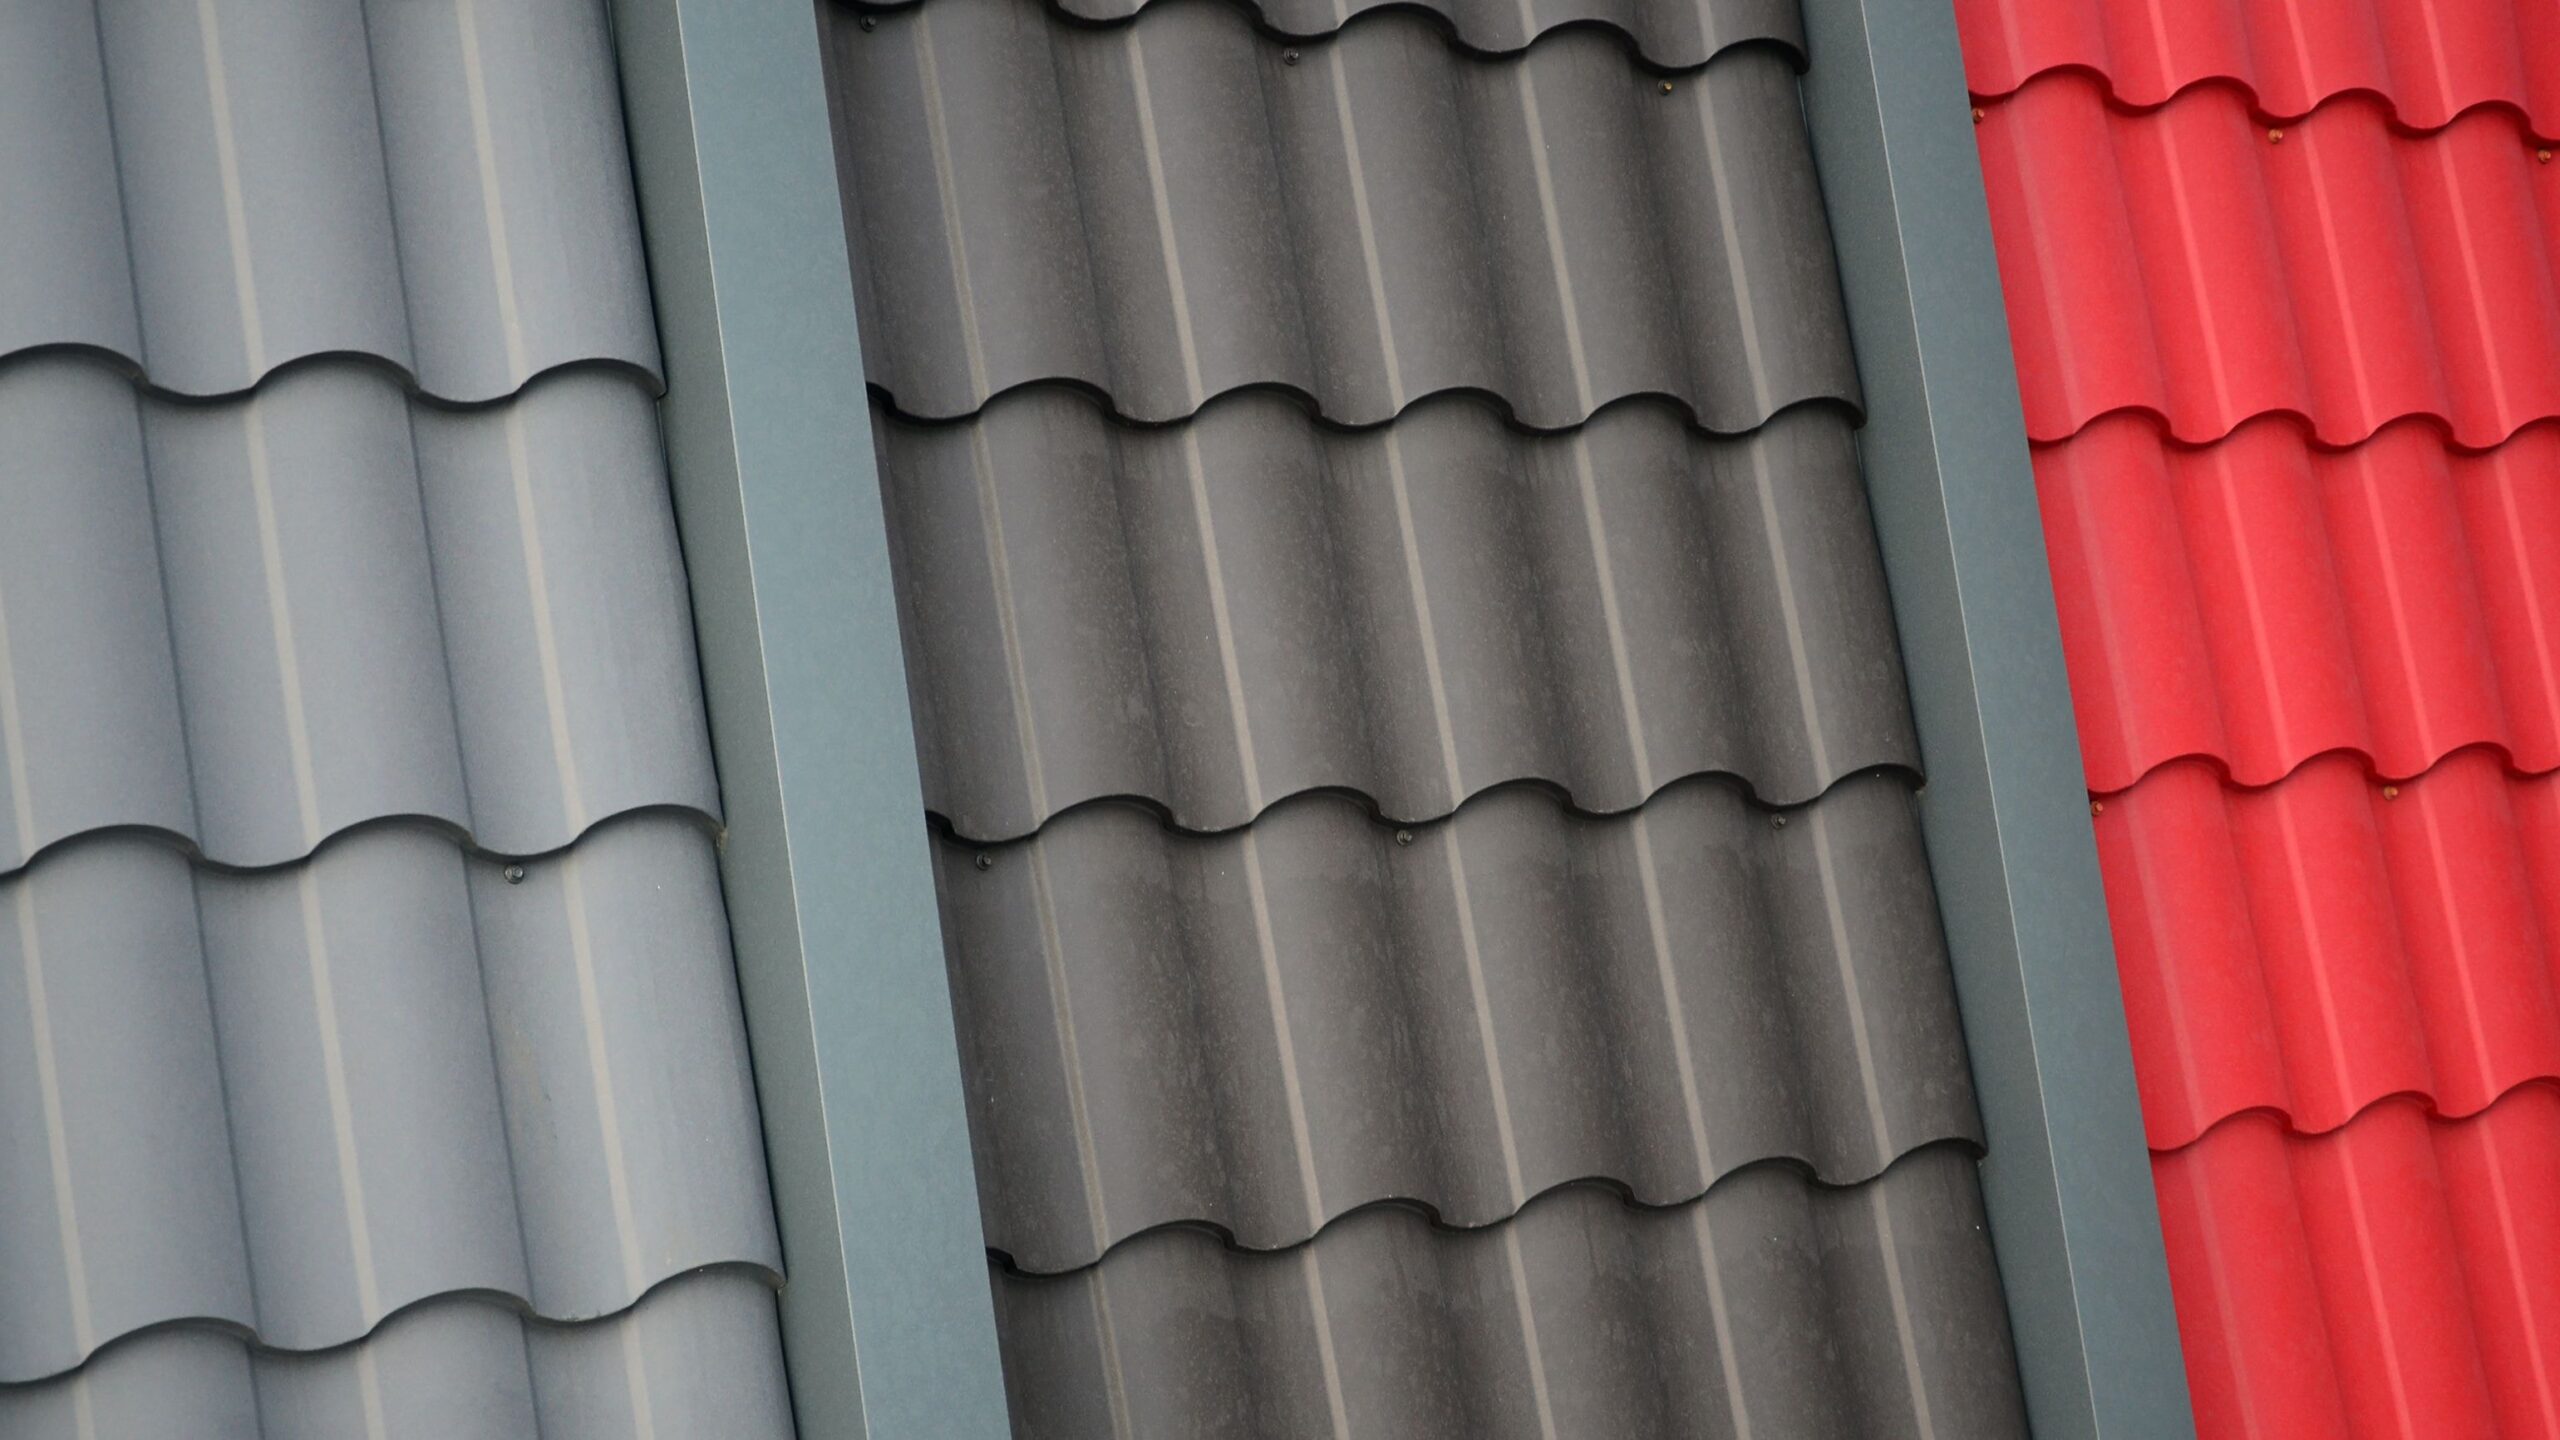
When selecting your metal roofing materials, take into account your local weather conditions. For example, if you live in a coastal area, aluminum or zinc might be better choices due to their corrosion resistance. Energy efficiency is another consideration, as certain materials are better at reflecting heat, which can help lower your energy bills.
Your budget will also play a role in the decision-making process. Corrugated metal roofing is often more affordable than other types, but you may want to invest in higher-end materials like copper or zinc for their long-term benefits. Be sure to choose a metal roof system that matches your practical needs and budget.
Evaluate the Pitch of Your Roof
The pitch of your roof is an important factor when it comes to installing metal roofing. For most types of metal roofs, a minimum pitch of 3:12 is recommended, meaning your roof should rise 3 inches for every 12 inches of horizontal distance. This pitch helps ensure proper water runoff and reduces the risk of pooling, which can cause leaks and damage over time.
If the slope factor is too low, you may need to rethink your roofing choice to prevent potential water leaks. Some types of metal roofing materials perform better with steeper pitches, as they can shed water more efficiently.
Ensure a Smooth, Clean Surface
Before you begin installation, make sure the roof surface is clean, smooth, and dry. Removing debris and ensuring a flat surface helps avoid any issues with leaks or uneven panel placement. Fix any damage to the roof deck, including issues with the roof frame, foam insulation, or ventilation. A properly prepared surface not only makes metal roof installation easier but also enhances the longevity of your new roof by preventing potential problem areas from developing over time.
Safety Considerations
Essential Safety Precautions During Installation
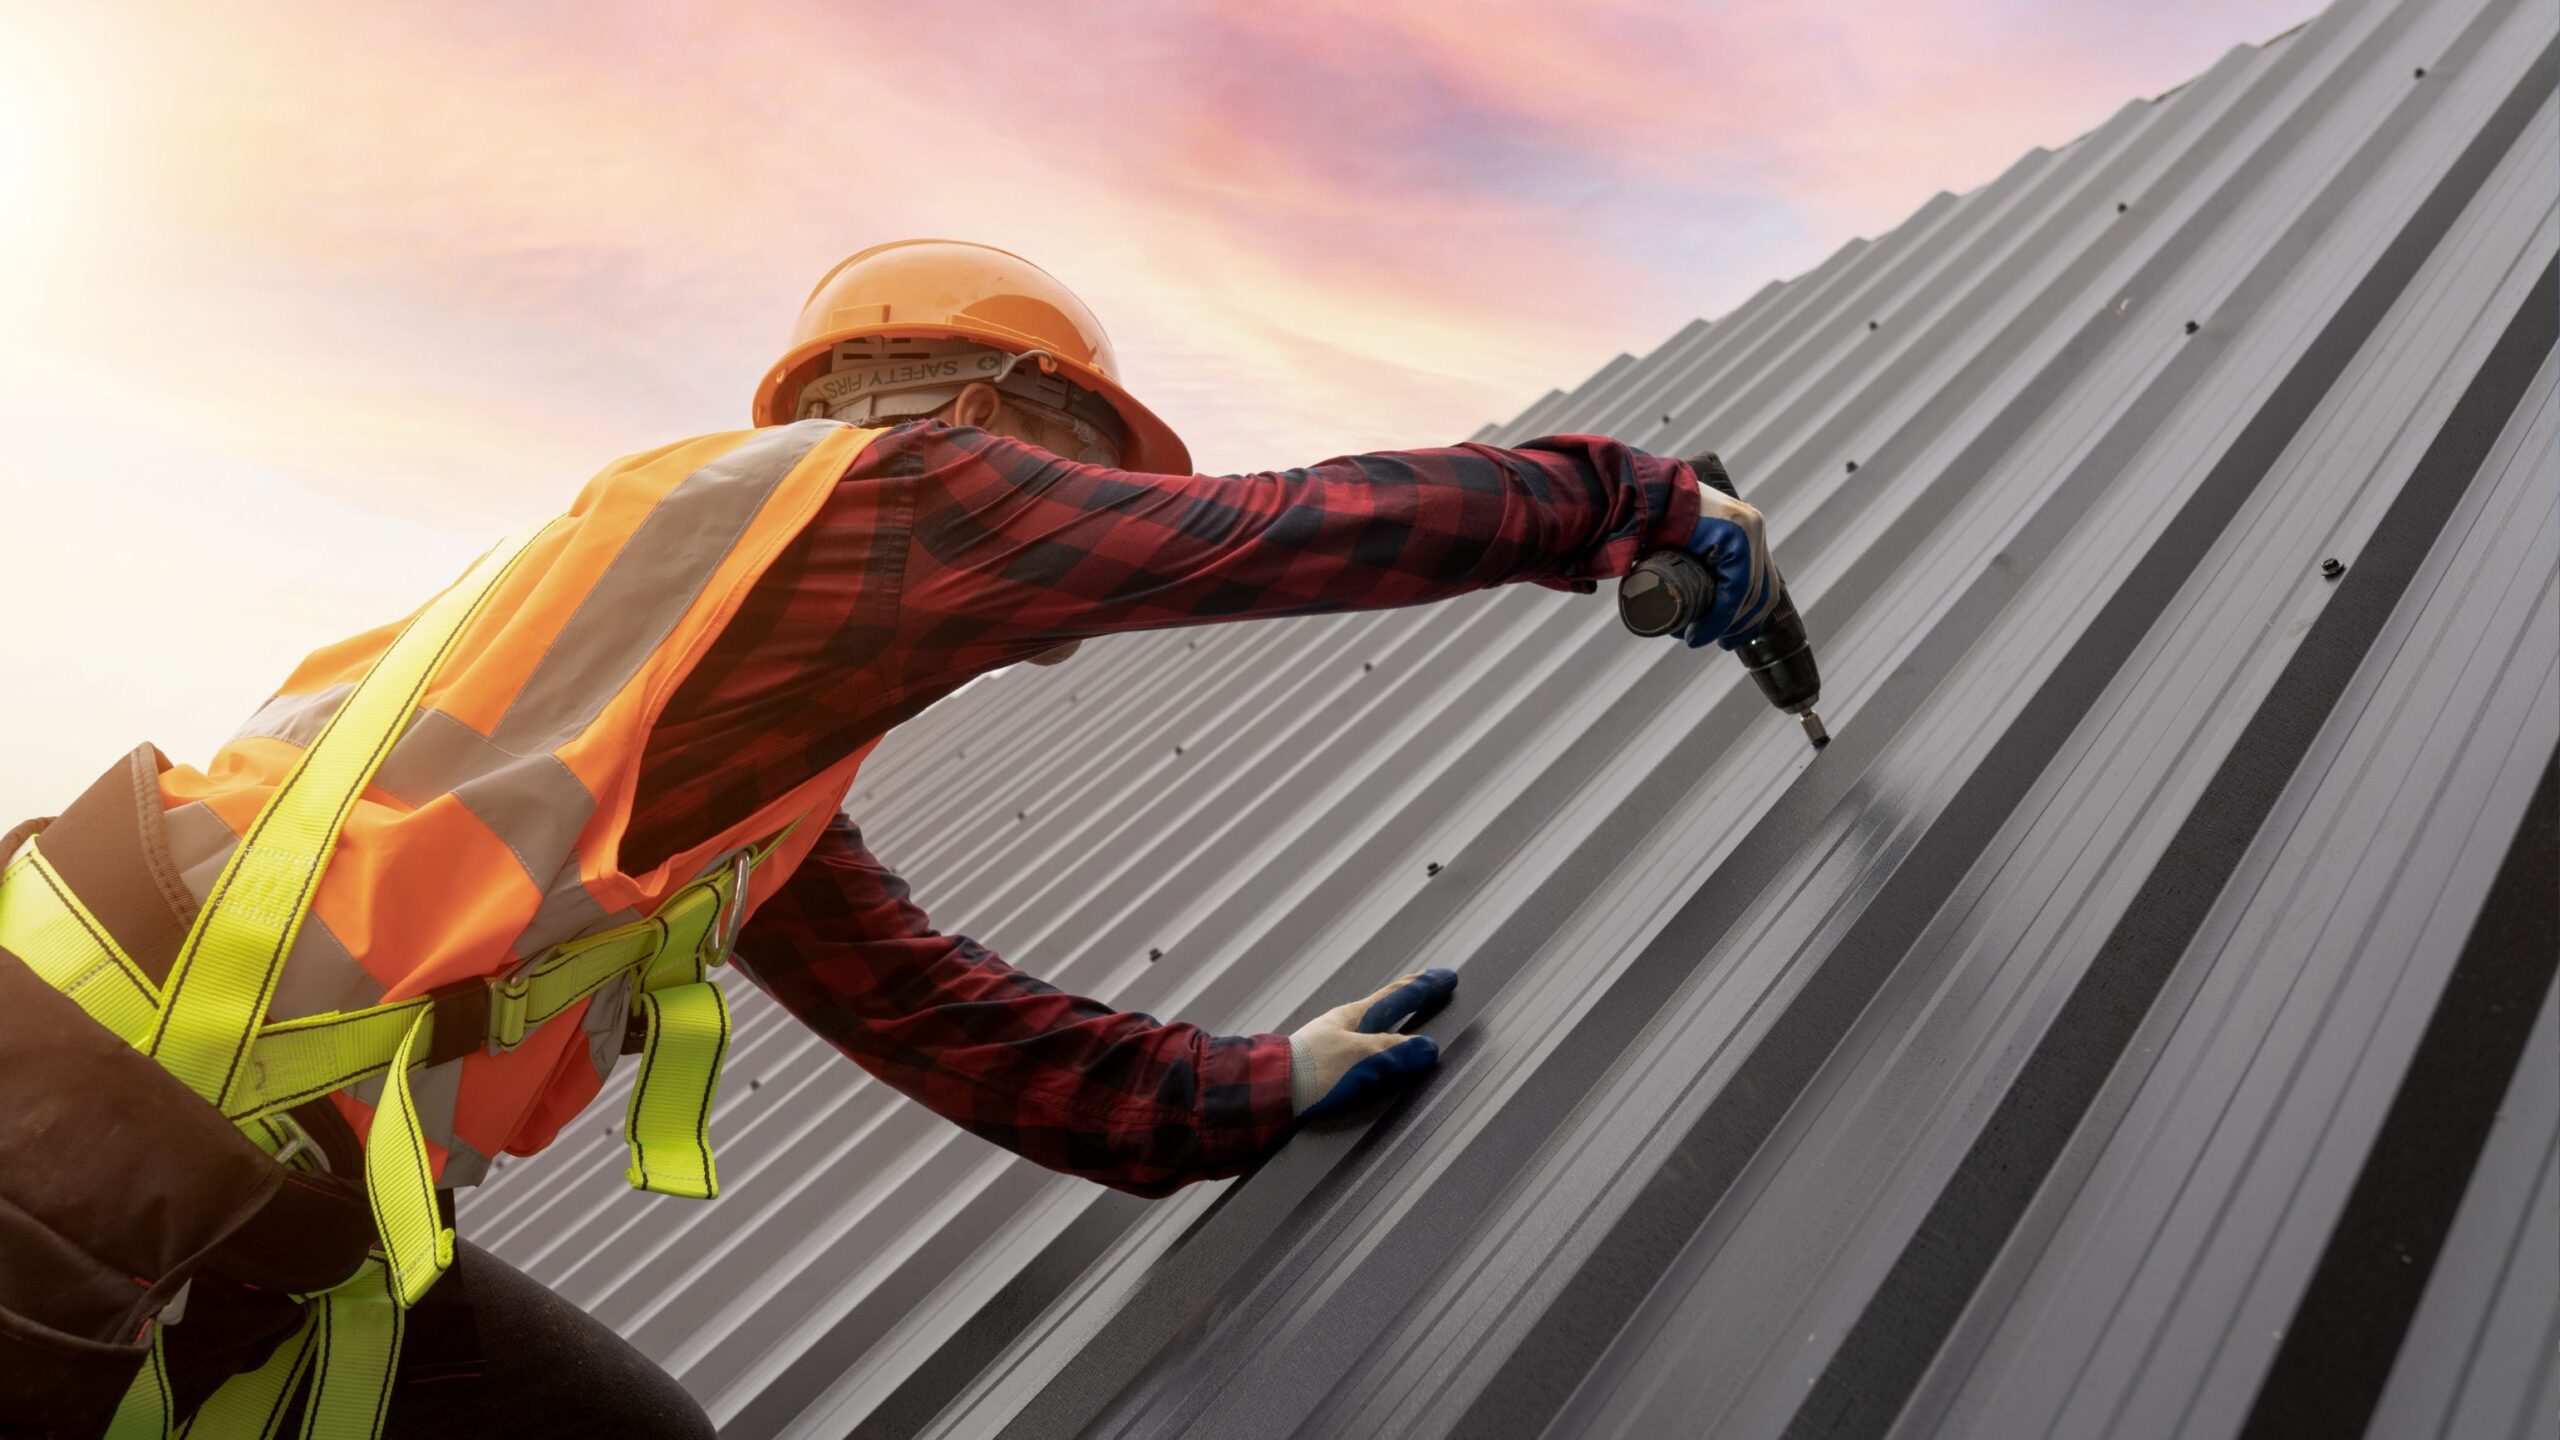
Safety should be your number one priority when installing a metal roof. Wear safety goggles, gloves, and a safety harness to protect yourself from injury. Ensure your ladder is secure and that you’re working on a flat surface whenever possible.
It’s also important to watch out for hazards like power lines and tree branches. If you’re unsure about local regulations, consult your local building codes before you start the project. They’ll provide guidance on safe roofing practices and let you know if any specific permits are required for your area.
Removing the Old Roof
Remove or Begin Placing Metal Roof Over Existing Roof
Before starting your metal roof installation, you’ll need to decide whether to remove your old roofing or place the new roof over the existing one. This decision often depends on local building codes. In some areas, you’re allowed to install metal roofing over existing shingles or other roofing material, but only if the roof isn’t already too heavy.
If your current roof has multiple layers of old shingles or asphalt shingles, you may need to strip the roof down to the roof deck before you can install the roofing panels.

Fix Any Roof Damage
Inspect your roof thoroughly before you begin the installation process. Look for damage to the roof frame, insulation layer, and ventilation systems. Fix any problem areas before you lay down your new roof to ensure a solid foundation. Ignoring these issues can lead to leaks, structural weakness, and costly future repairs.
This inspection is especially important if you’re installing corrugated metal roofing or other types of metal roofing over an existing structure, as any underlying problems can compromise the roof’s performance. Taking the time to address these issues upfront will help your metal roof provide long-lasting durability and protection.
Installing the Underlayment
Place the Moisture Barrier
Laying a moisture barrier is a crucial step in the process of installing your new metal roofing. The barrier, often made from roofing felt paper, acts as a layer of protection between the metal roofing materials and your home’s interior, helping to prevent moisture buildup that can lead to rot or mold. Staple or nail the moisture barrier in place, ensuring it covers the entire roof area and extends to the edges for complete coverage.
Lay Down the Underlayment
After the moisture barrier is in place, you’ll need to lay down the underlayment. This acts as an additional buffer between the metal and the roof decking, enhancing durability. Make sure to extend the underlayment across the entire roof, leaving no exposed areas that could allow water to seep through. This layer helps prevent water infiltration and adds an extra level of insulation, improving the overall energy efficiency of your roof.
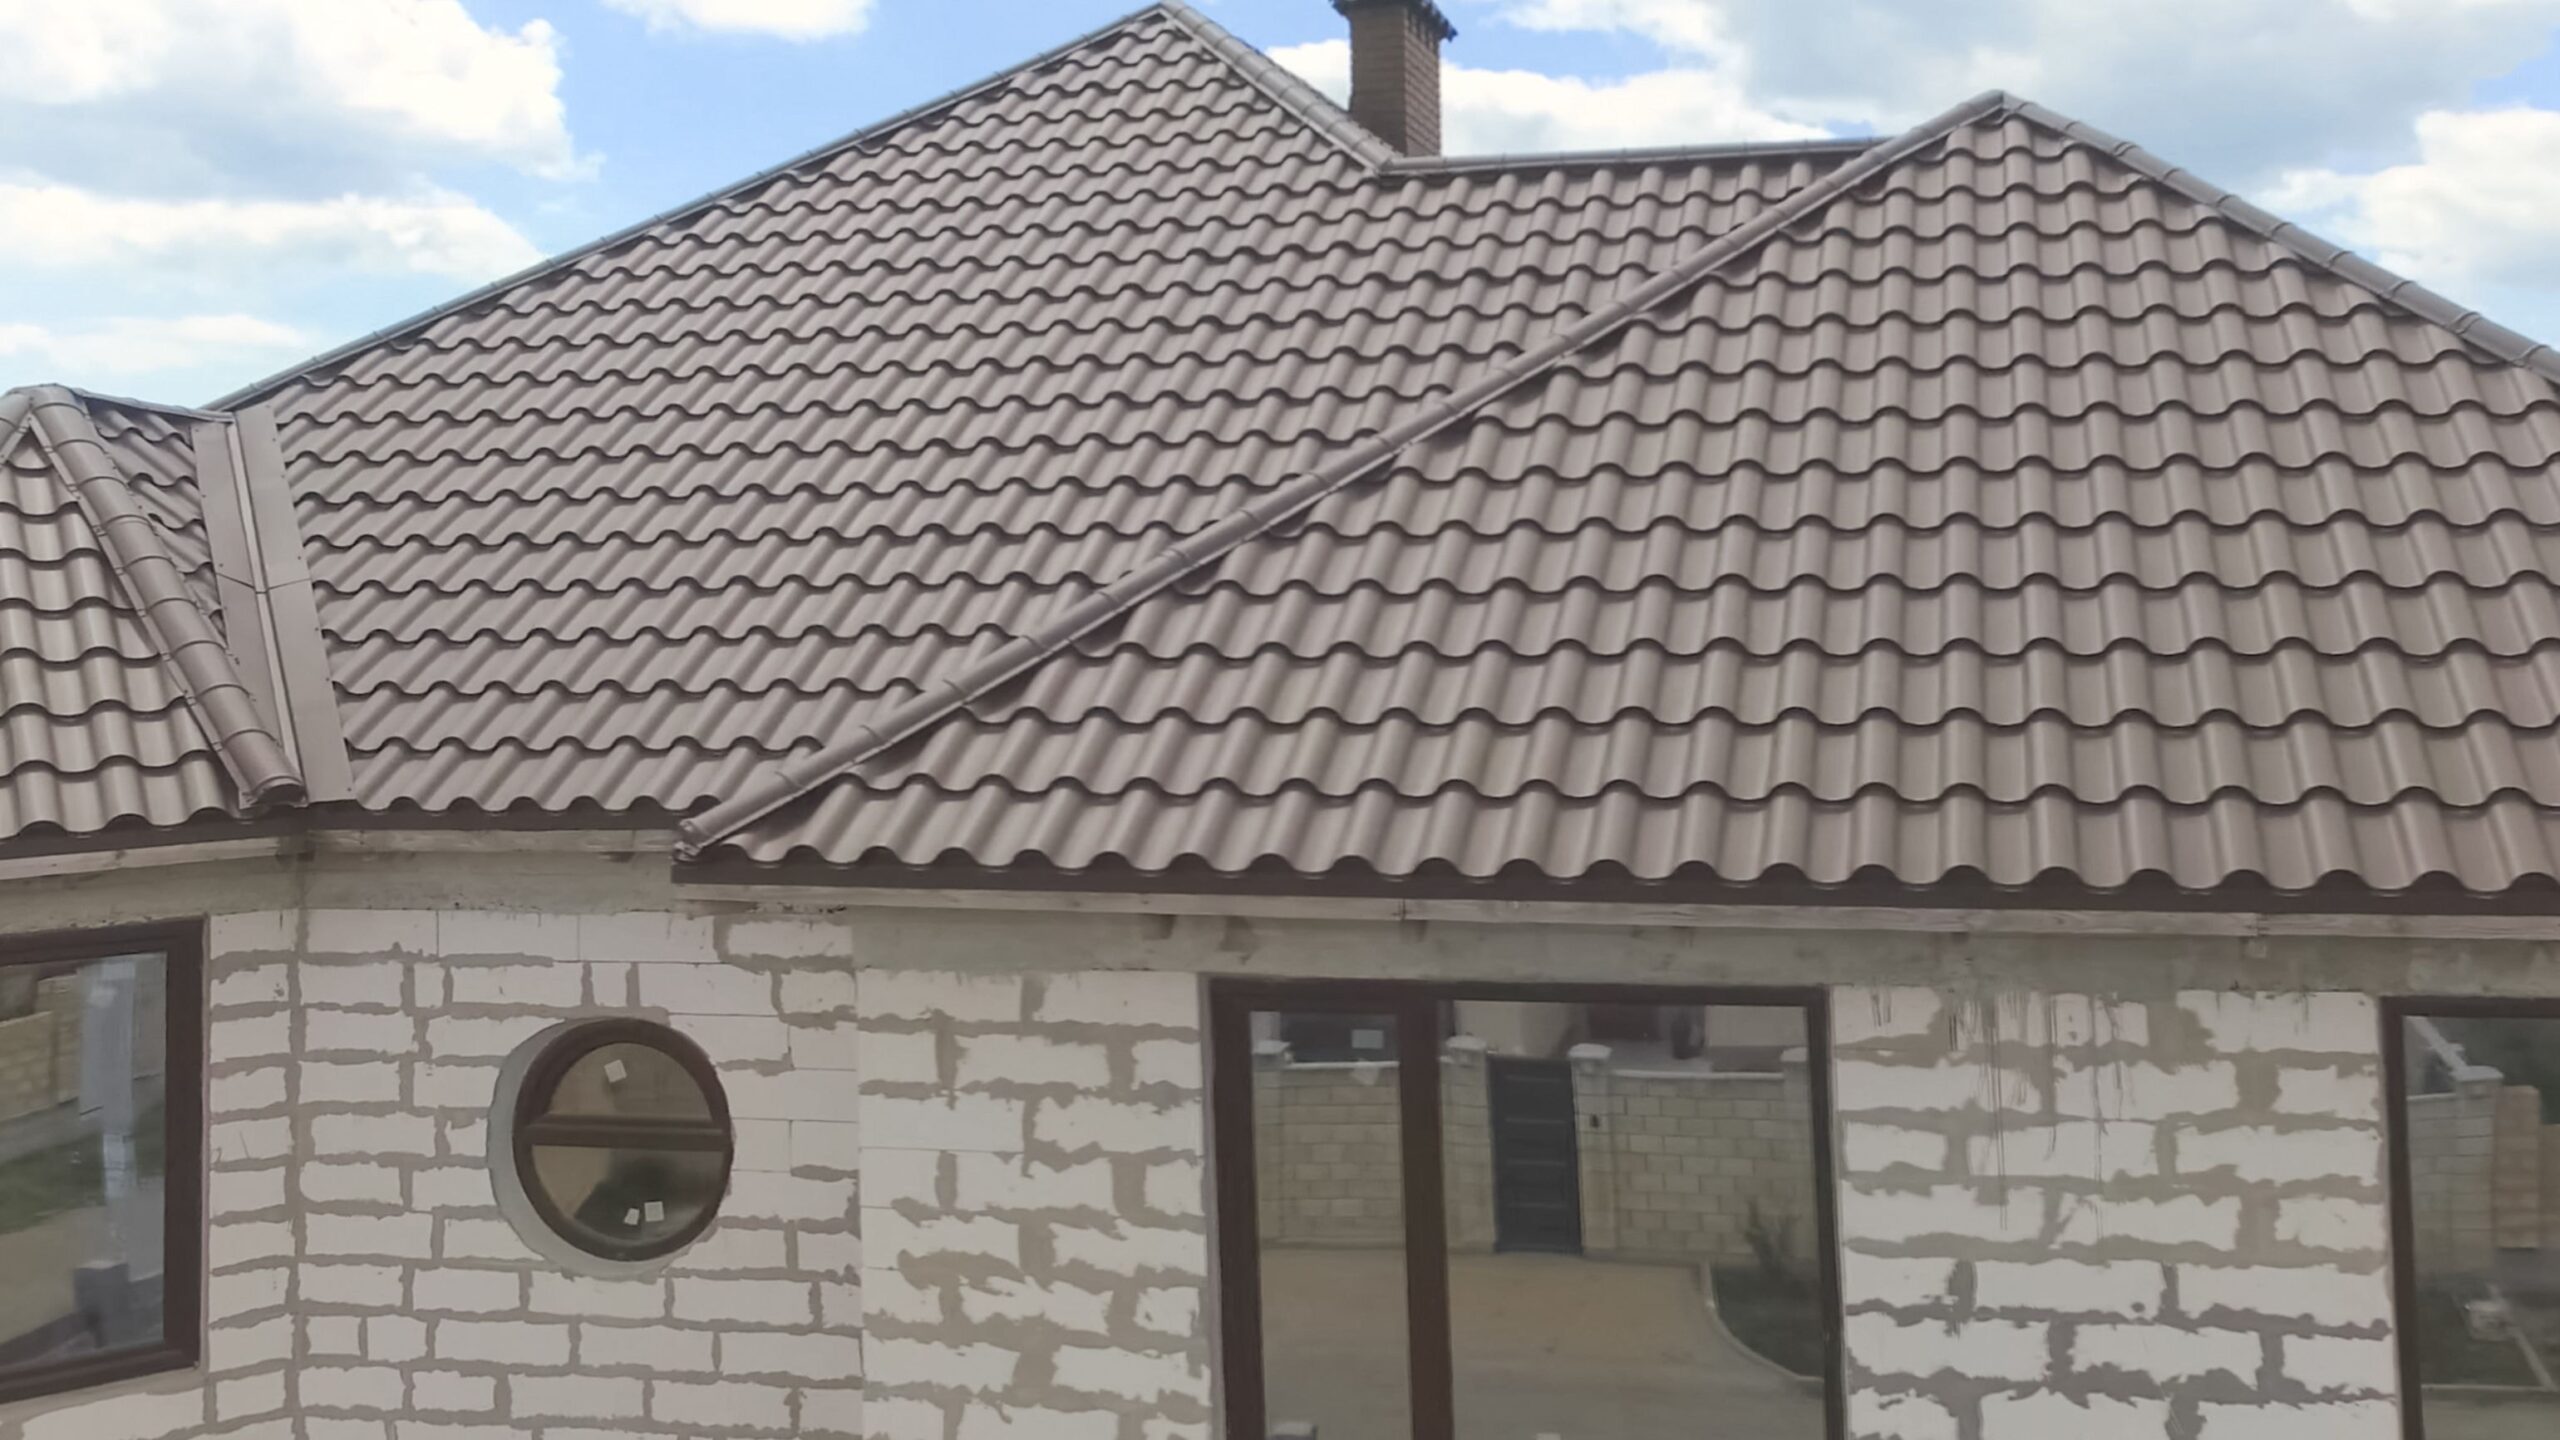
How-To Metal Roof Installation
Install Drip Edges and Closure Strips
Next, you’ll want to install a drip edge along the eaves and rake of the roof. These closure strips help direct water away from the edges, protecting the roof structure and foundation. Use galvanized roofing nails to secure the drip edge, overlapping them by 1/4 to 1/2 inch. Be sure to add closure strips and butyl tape for a watertight seal along the roof’s perimeter.
Install Metal Roofing Panels
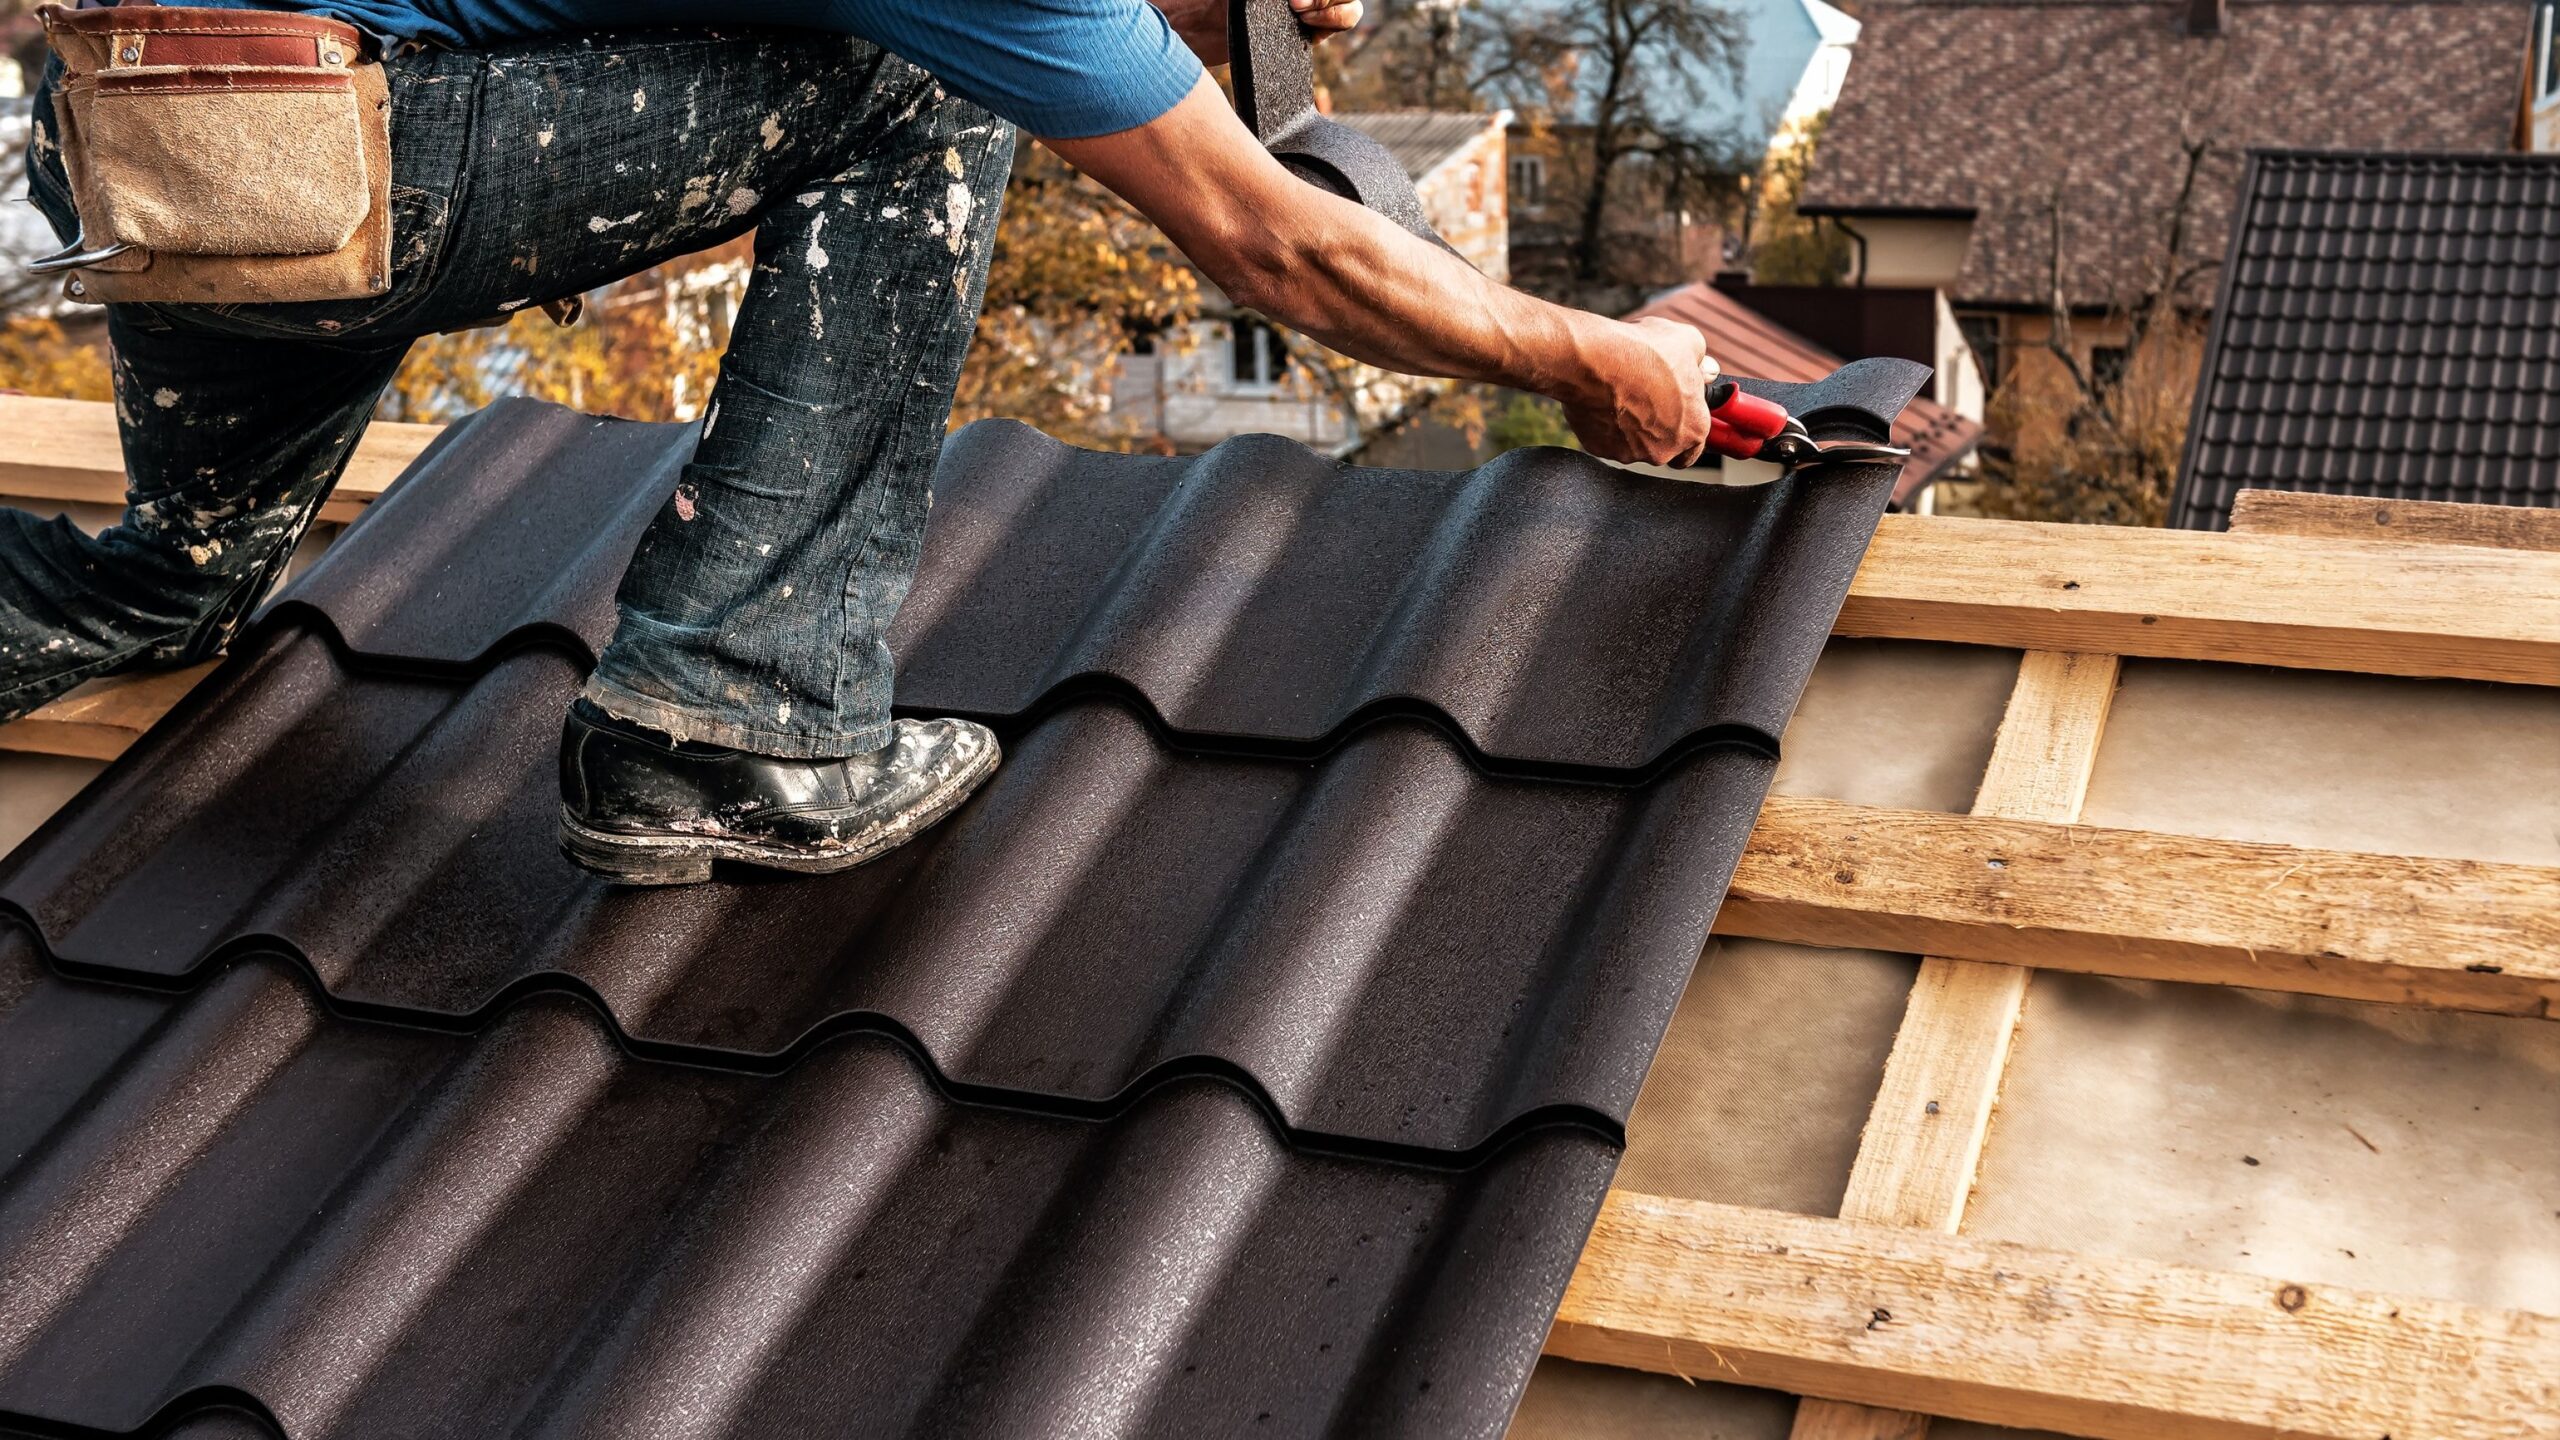
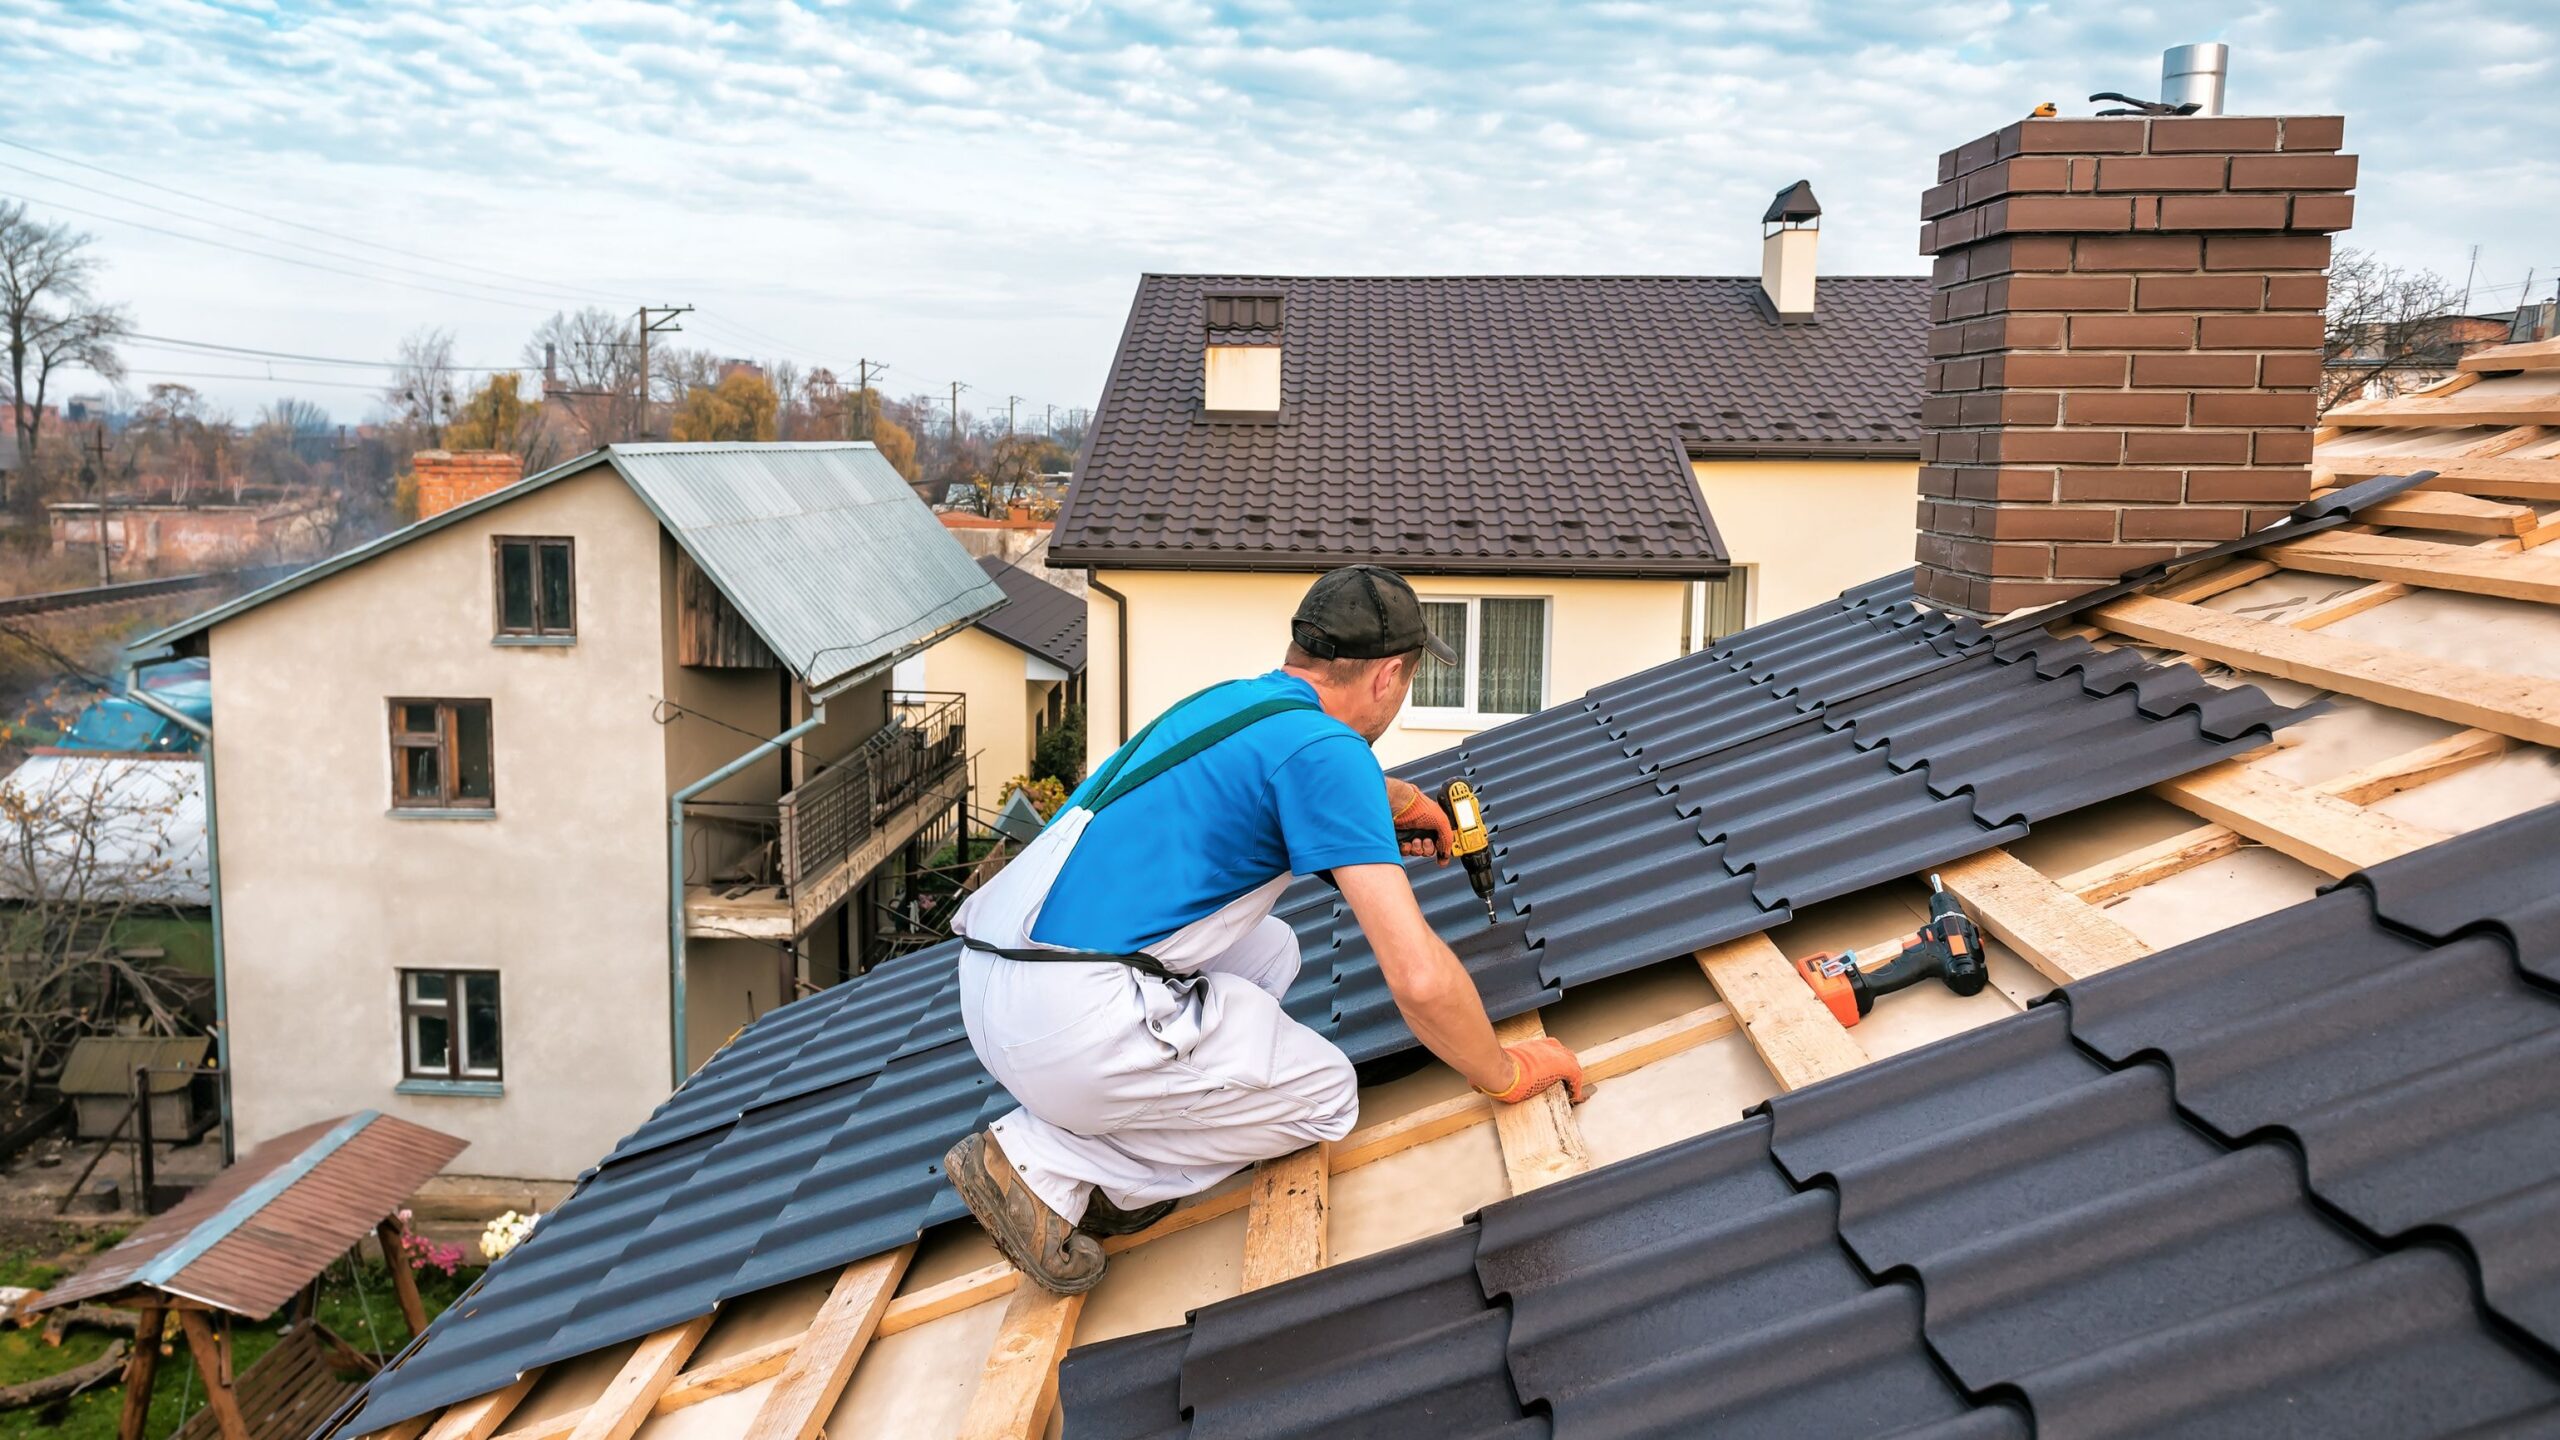
When it’s time to install the metal roofing panels, follow the manufacturer’s guidelines carefully. Start by placing the panels square to the roofline, and overlap the edges by 1/2 to 3/4 inch. Ensure the panels are lined up properly and secure them using metal roofing screws. Avoid overtightening the screws, as this can damage the panels. Add silicone sealant to each screw for a watertight finish.
If you’re installing corrugated metal roofing panels, make sure to overlap them properly to prevent leaks. Follow the same process when installing a standing seam metal roof, ensuring the seams are securely fastened and sealed.
Finishing Touches
Add Ridge Cap
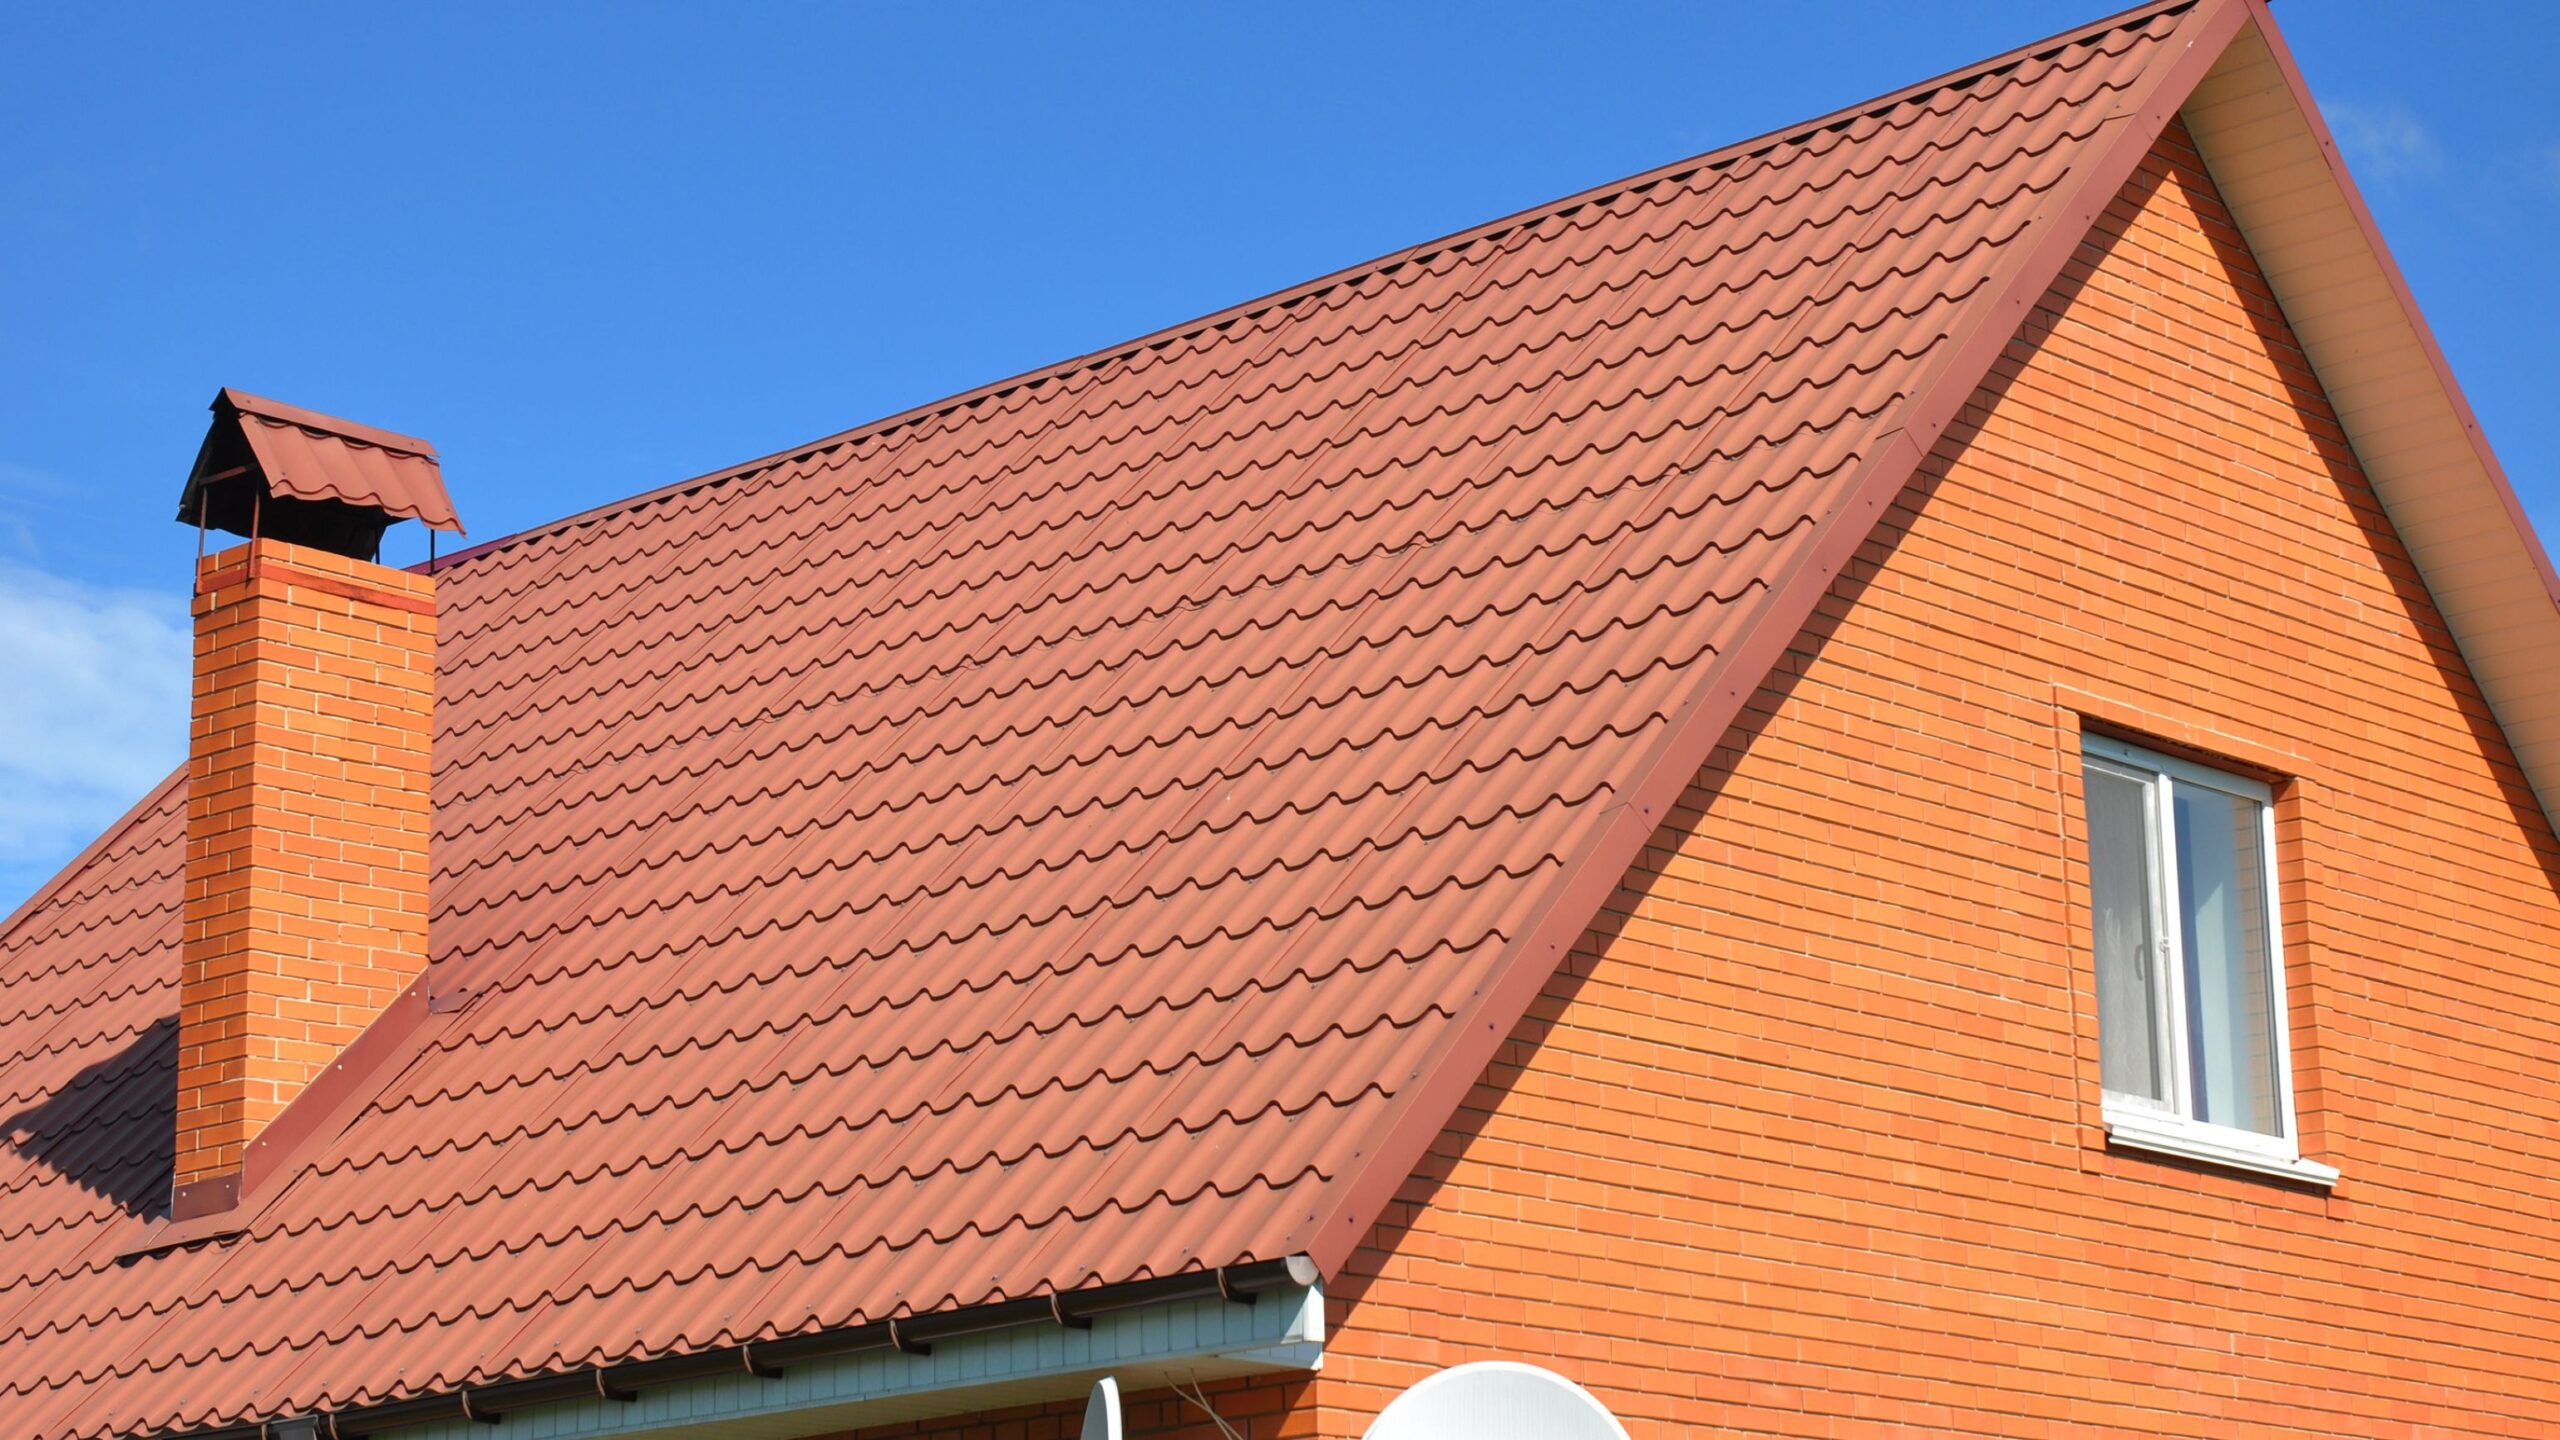
After the panels are in place, it’s time to add the ridge cap, which is essential for creating a finished look and providing additional protection against leaks. The ridge cap covers the roof’s peak, preventing water from seeping in where the panels meet. Follow the manufacturer’s instructions carefully when marking the panels for the ridge cap placement to ensure accuracy and alignment.
Apply sealant tape along the ridge line to create a watertight seal, then secure the cap using metal roofing nails or screws. This final step not only enhances the roof’s durability but also adds to its aesthetic appeal.
Install Flashing
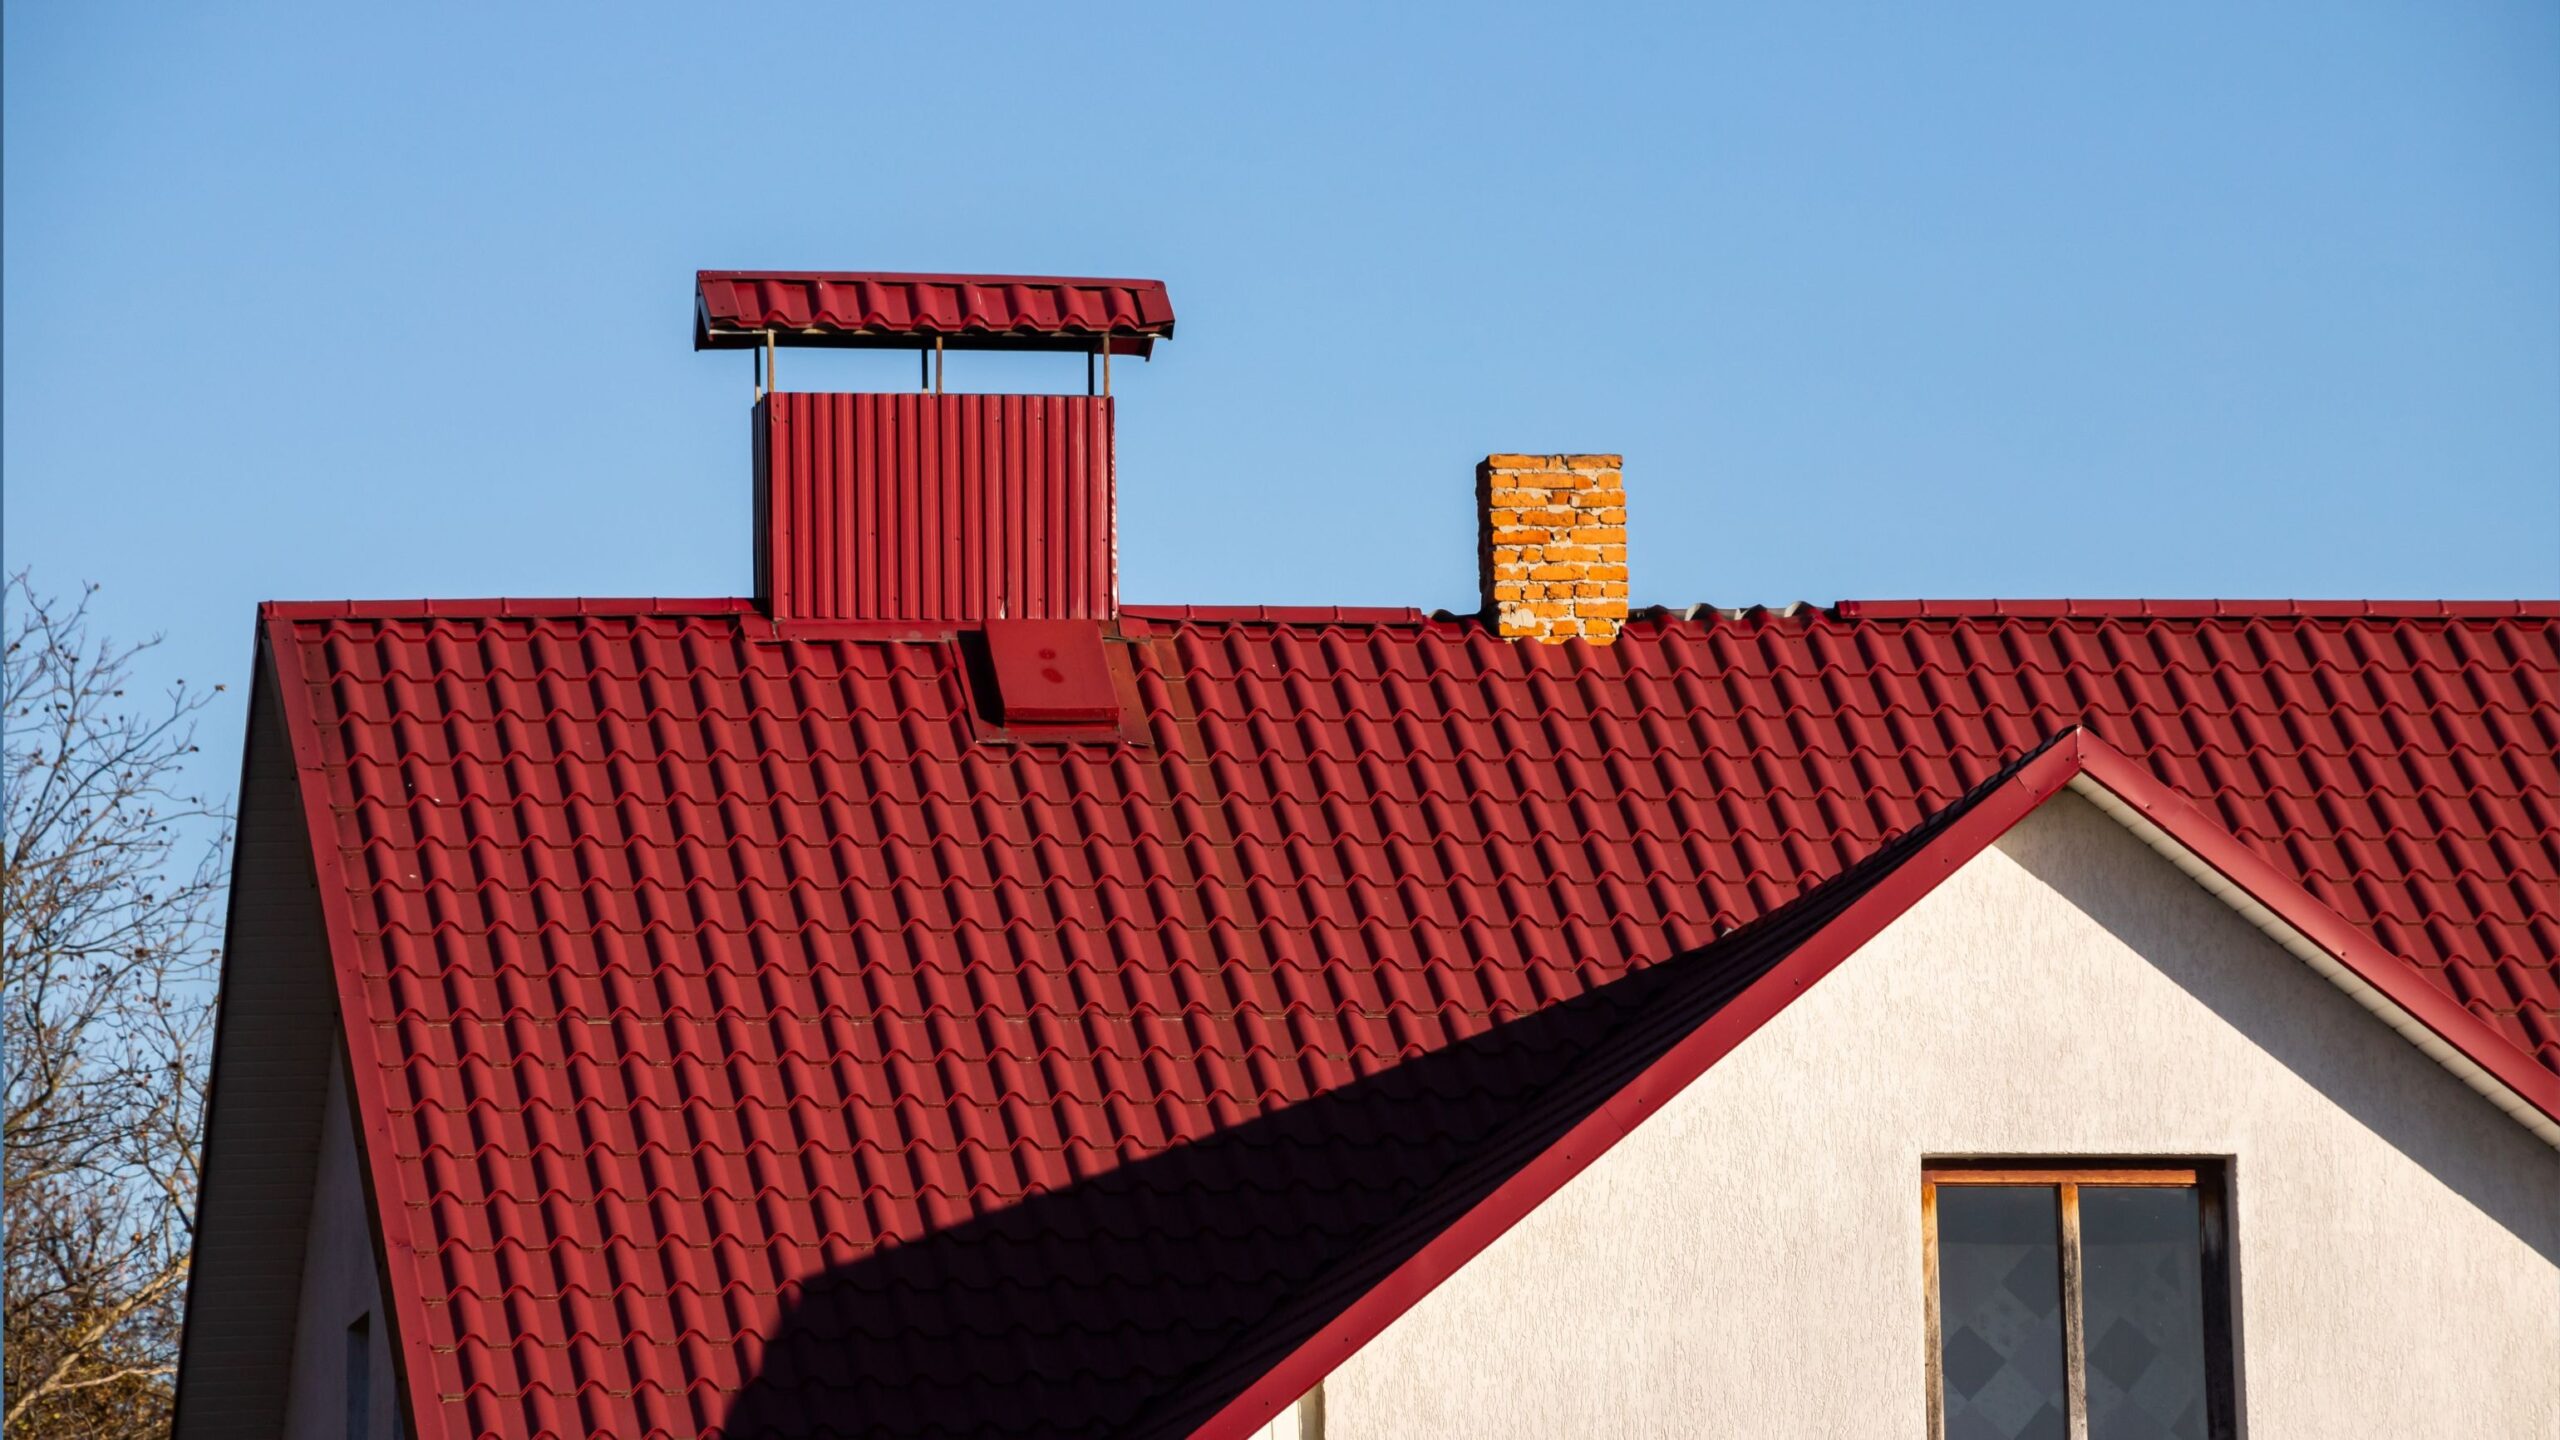
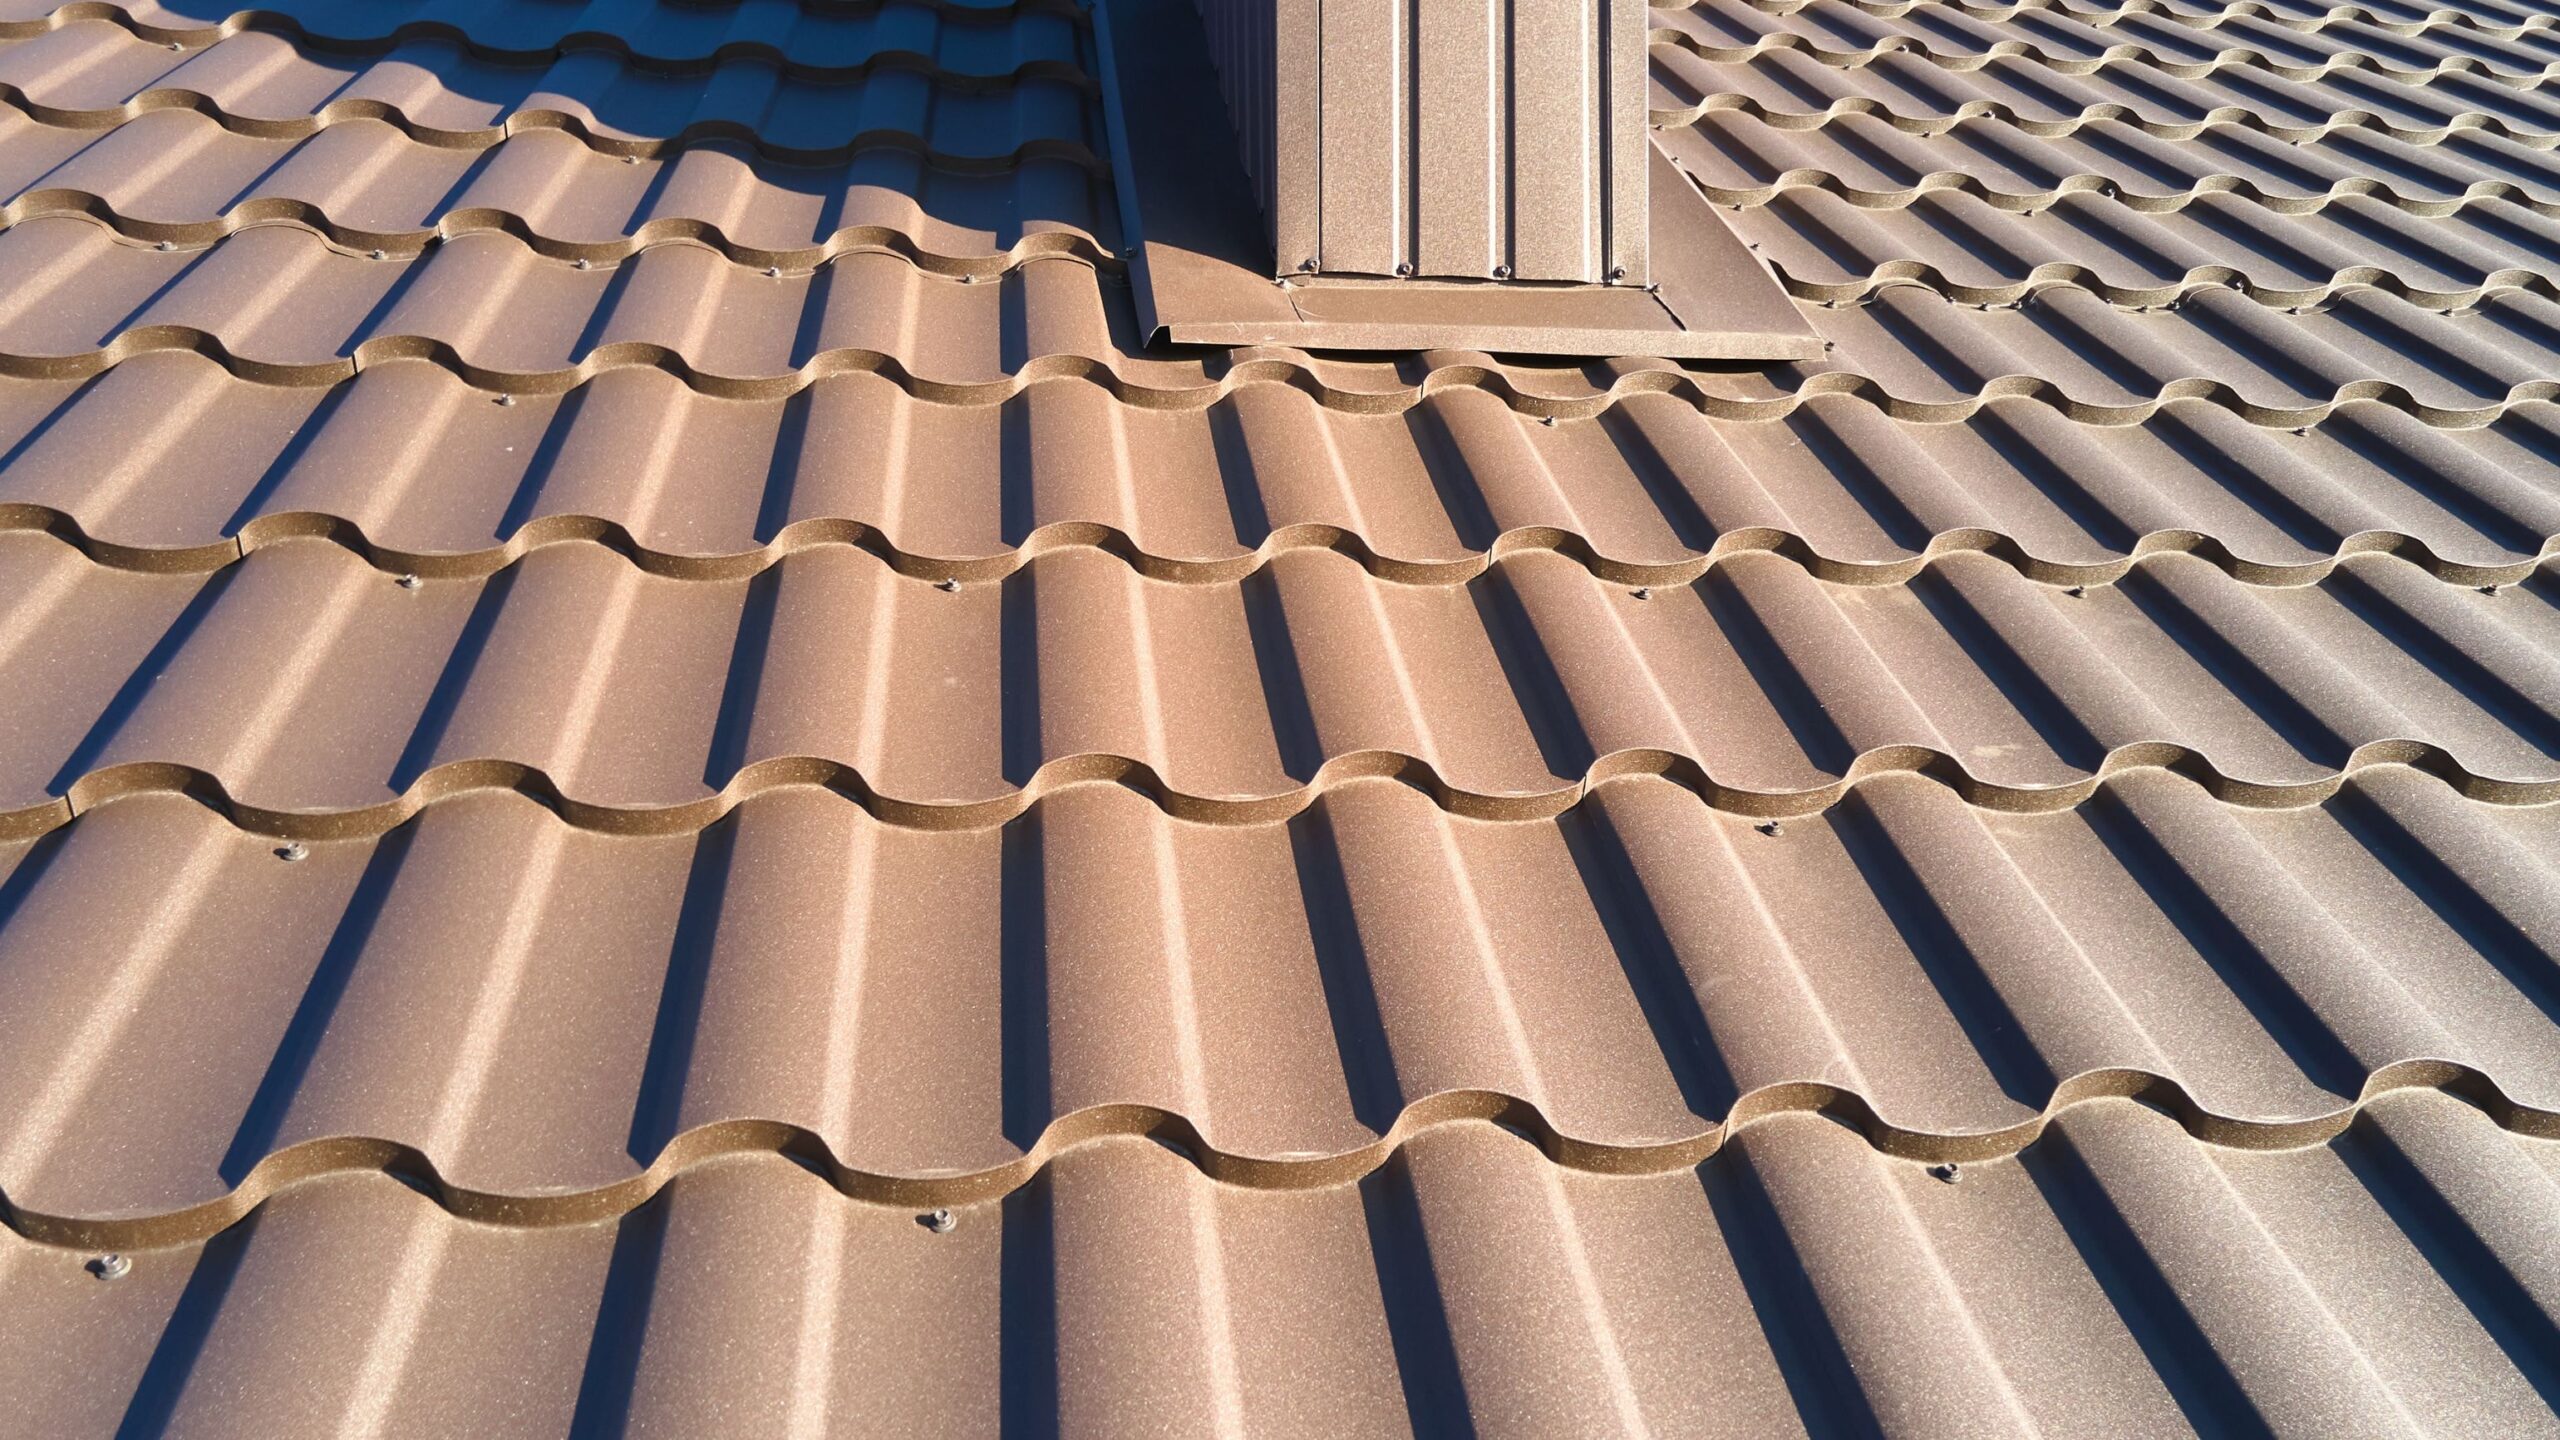
Flashing is another important finishing step, providing a critical barrier against moisture. Install it along the edges of the roof and around any vents or chimneys to prevent water from getting in. Proper flashing installation not only protects your home from potential water damage but also adds a polished look to the roof’s overall aesthetic appeal. High-quality flashing is especially important in areas prone to heavy rainfall or snow, as it offers an added layer of security.
Apply Metal Roof Coating/Paint
To extend the life of your metal roof, consider applying a high-quality metal roof coating. A few coats will help prevent rust, corrosion, and other damage, ensuring your roof lasts for decades to come. Some homeowners choose to paint their metal roofs to match the home’s exterior, adding both style and protection. A good coating or paint job can further enhance energy efficiency by reflecting sunlight, keeping your home cooler in warm weather.
Post-Installation Considerations
Maintenance and Care of Your New Metal Roof
A metal roof doesn’t require much maintenance, but regular cleaning can help prevent debris buildup and water damage. Inspect your roof every year or after major storms to check for dents, scratches, or rust. If you notice any damage, repair it promptly to avoid further issues. Applying a protective coating every few years can also help prolong the life of your roof.
DIY vs. Professional Installation: Weighing the Options
DIY installation offers the benefit of cost savings, but it also comes with risks. When opting for a DIY metal roof installation, you have complete control over the timeline and cost, but you’ll need to ensure you have the proper tools, materials, and safety gear. Installing a metal roof requires precision and attention to detail, especially when it comes to the placement of metal panels, drip edges, and closure strips. A mistake in any part of the process can result in costly repairs down the line.
On the other hand, hiring a professional can save you time and provide peace of mind. Professionals are familiar with local building codes, can work safely on a roof surface, and are skilled at handling complex details like ridge caps and flashing. While it may be more expensive upfront, professional metal roof installation can prevent future headaches and lower maintenance needs over time. In the long run, you may find that hiring an expert leads to cost savings by avoiding mistakes and ensuring a longer-lasting roof.

Conclusion
Increase the Comfort and Value of Your Home with Metal Roofing
A new metal roof is an investment in both the comfort and value of your home. It’s durable, energy-efficient, and, with the right materials and installation, can provide decades of protection. Whether you opt for a DIY installation or hire a professional, understanding the installation process and knowing the benefits of metal roofs will help you make informed decisions. Plus, a metal roof can enhance the look of your home, giving it a modern and sleek appearance.
With this step-by-step guide, you’re well on your way to starting your own metal roof installation project. Just remember to prioritize safety, measure accurately, and choose the best metal roofing materials for your needs. Once your metal roof is in place, you’ll enjoy years of protection and improved energy efficiency for your home.
Facebook
