
Roof shingles play a crucial role in protecting your home from the elements, and eventually, every homeowner will face the need to replace them. Whether due to natural wear, storm damage, or aesthetic reasons, knowing how to replace roof shingles on your own can save you considerable money in labor costs. In this guide, we will walk you through each step of how to replace roof shingles and why each action is important for ensuring a durable, watertight roof.
What Are Roof Shingles?

Roof shingles are individual, overlapping pieces that create a protective layer over the roof of your home. They are designed to keep out water, prevent leaks, and provide insulation. Commonly made from asphalt, shingles also come in materials such as wood, metal, slate, or plastic, but asphalt shingles remain the most popular option for their affordability, durability, and ease of installation.
Shingles are arranged in overlapping rows, forming a tight seal that protects your home from weather elements like rain, snow, and UV radiation. While some shingles are designed to last for decades, exposure to harsh conditions can gradually lead to damage. Therefore, understanding when and how to replace roof shingles is critical for maintaining your home’s integrity and appearance.
Why Should You Replace Roof Shingles?
There are several reasons why you may need to replace roof shingles, such as:
- Weather Damage: Severe weather like rain, wind, snow, and hail can cause shingles to crack, dislodge, or warp, leading to leaks.
- Aging: Over time, shingles naturally deteriorate from sun exposure, temperature fluctuations, and general wear and tear.
- Curb Appeal: New shingles can refresh the look of your home, which can be a selling point if you’re planning to put your house on the market.
- Energy Efficiency: Replacing old shingles can improve your roof’s insulation, helping reduce energy costs.
- Leak Prevention: Cracked or missing shingles can expose your roof deck, leading to costly water damage. Replacing damaged shingles can prevent leaks and extend the life of your roof.
Steps to Replace Roof Shingles
1. Remove Nails That Hold the Shingle to the Roof Deck
The first step in replacing a damaged shingle is to remove the nails securing it to the roof deck. Using a flathead screwdriver or pry bar, gently lift the damaged shingle to reveal the nails. Be cautious not to damage the surrounding shingles or the roof deck itself. Once the nails are exposed, carefully remove them to free the shingle.
Summer vs. Winter Shingle Replacement
It’s best to replace shingles in the summer rather than the winter. During warm weather, shingles are more flexible and less likely to crack, making the job easier. In colder weather, shingles can become brittle and more challenging to work with, increasing the risk of breakage. Additionally, adhesives used to reseal shingles might not bond as effectively in low temperatures.
2. Break the Adjacent Seals of Overlying Shingles
Once the damaged shingle’s nails are removed, break the adhesive seals on the surrounding shingles. Shingles are held in place with a strip of adhesive to prevent wind uplift and water penetration. Using a putty knife or pry bar, gently lift the edges of the shingles adjacent to the damaged one, breaking the adhesive bond without damaging the surrounding shingles.
3. Remove the Old & Adjacent Nails
After breaking the sealant bond, continue to remove any remaining nails holding the damaged shingle in place. Use your hammer or pry bar for this step. Also, make sure to remove any nails from the adjacent shingles that overlap with the damaged area. This will allow you to lift and maneuver the surrounding shingles without causing additional damage. Be gentle during this process to avoid cracking any of the neighboring shingles.
4. Remove the Old Shingles After All Sealant Bonds Are Broken
Once the nails and adhesive seals have been dealt with, the damaged shingle should come off easily. Lift it from the roof and dispose of it properly. Double-check to ensure all nails and adhesive bonds have been removed before proceeding. If the shingle feels stuck, inspect for any remaining nails or sealant that might still be holding it in place.
5. Make Sure Your Roof Deck is in Good Condition

Before you install a new shingle, it’s essential to inspect the roof deck for any signs of damage. The deck should be free from rot, mold, or moisture damage. If the underlying wood shows signs of deterioration, you’ll need to replace that section of decking before installing new shingles. Skipping this step could lead to further damage and compromise the integrity of your entire roof.
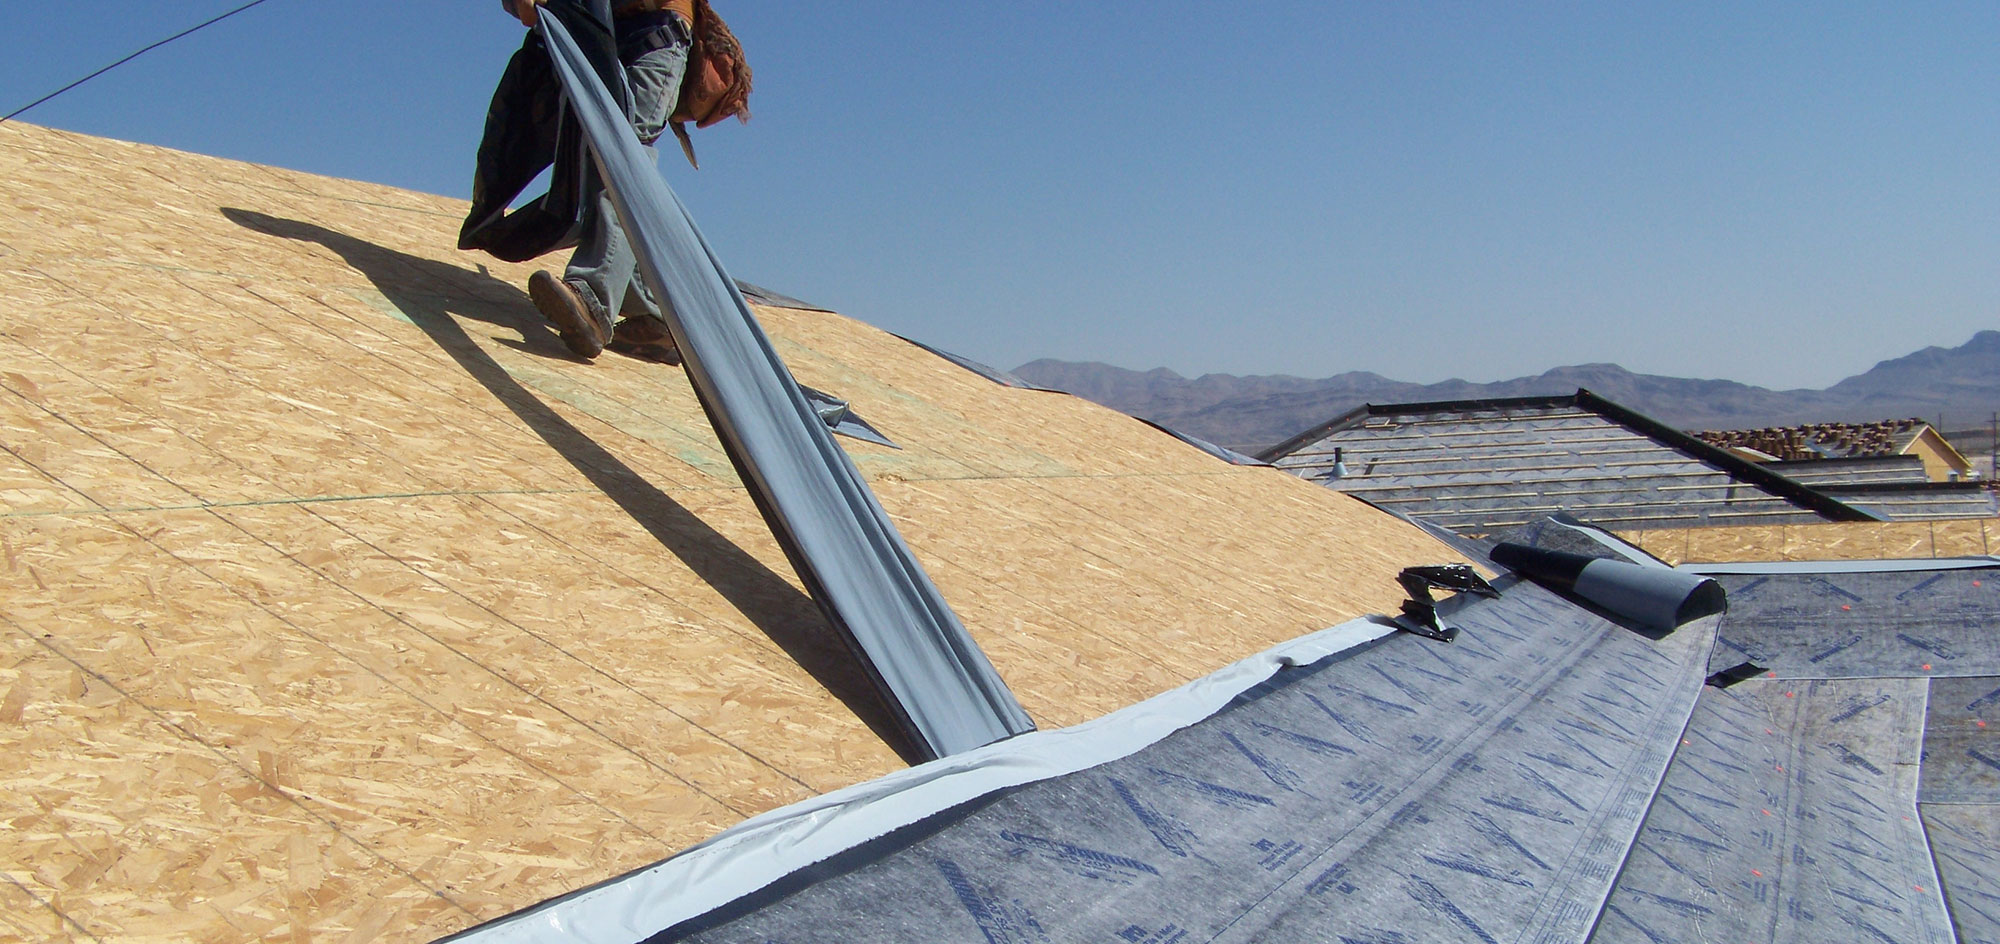
6. Install a Drip Edge or Metal Roof Flashing

A drip edge is a metal flashing installed along the edges of the roof to direct water away from the roof deck and into the gutters. If your roof doesn’t already have one, now is the perfect time to add this protection. A drip edge is a simple yet effective way to prevent water from infiltrating your roof’s edges and causing rot or leaks.
7. Cover Your Roof with Underlayment to Prevent Water Damage

Before you install the new shingle, add a layer of underlayment, a waterproof barrier that sits between the roof deck and the shingles. Underlayment provides additional protection against water and helps extend the life of your shingles. Cover the entire roof deck section, ensuring it extends a few inches beyond the damaged area for maximum protection.
8. Install a Leak Barrier
A leak barrier, or ice and water shield, is another layer of protection you should consider installing, especially in areas prone to leaks, such as eaves, valleys, and around chimneys. This self-adhesive membrane prevents water from seeping into vulnerable spots on the roof. While the entire roof may not need this extra layer, adding it around replaced shingles offers added security against leaks.
9. Replace Old Shingles with New Starters and Nail Them in Place

With the prep work done, it’s time to install the new shingle. Begin by aligning the new starter shingle with the existing ones, ensuring it matches the size and style of your roof. Secure it in place using roofing nails. Proper nail placement is key—usually just below the adhesive strip of the shingle—to ensure a strong bond and prevent the new shingle from lifting in high winds.
Consider the Type of Shingles: Asphalt and Architectural Shingles
When selecting shingles, consider the type that best suits your needs. Asphalt shingles are cost-effective and widely used, known for their durability and ease of installation. Architectural shingles, while more expensive, offer a thicker, dimensional appearance that enhances curb appeal and provides longer-lasting protection. The choice between these two will depend on your budget and aesthetic preferences.
10. Reseal the Roof Shingles
Once the new shingles are nailed down, you’ll need to reseal the surrounding shingles that were lifted during the replacement process. Apply a small bead of roofing adhesive under the edges of the surrounding shingles to ensure they are watertight and wind-resistant. Press the shingles down firmly to create a strong adhesive bond.
11. Add Ridge Cap Shingles for Extra Protection
If the replaced shingle is near the roof ridge, you may also need to replace or reinstall ridge cap shingles. These are specialized shingles designed to cover the roof’s peak and prevent water from entering the roof’s highest point. Install them according to the manufacturer’s instructions to ensure proper protection against leaks at the ridge.
12. Clean Up Materials or Existing Debris From the Installation Process
After the shingle replacement is complete, clean up all tools and materials from the job site. This includes disposing of old shingles, nails, and any leftover sealant or adhesives. Properly cleaning up the area ensures that there’s no debris left that could damage the roof or cause injury. If you hired a roofing contractor, they should handle the cleanup as part of their service.
How to Replace Roof Shingles In a Nutshell
While replacing roof shingles can seem daunting, it’s a manageable task with careful attention to detail. By following the steps above, you can successfully replace damaged shingles, improve your roof’s lifespan, and prevent leaks and further damage. Always prioritize safety when working on a roof. If at any point you feel uncertain or unsafe, hiring a professional roofing contractor is a smart choice to ensure the job is done correctly and safely.